Setting Up OpenMoxie for Your Moxie Robot: A Detailed, Step-by-Step Guide

Chris

RATH Rascal
Admin
Setting Up OpenMoxie for Your Moxie Robot: A Detailed, Step-by-Step Guide

Step 1. Recovery Key

Write down your recovery key. You will need this later if you want to restore Moxie to your current mission progress. This is only viable for the next 24 hours before Embodied’s servers shut down. If you are attempting to set up OpenMoxie after the 30th January you can ignore this step.

To find in the app go Account> Scroll down to Recovery Key. Alternatively view it on logging out of the app.


Step 2. Unpair
Unpair Moxie from the Embodied Parent App. If you are attempting this after January 30th you can ignore this step.

In the app select Moxie> Gear Icon on right> Scroll down to Unpair.

Just unpaired my two, so nervous about doing this, am going to try buying a laptop tomorrow and hopefully set them up before the servers shut down so I can save my current mission progress.


One last photo before transferring to OpenMoxie.

 
I’ve missed the deadline to set up OpenMoxie and still access the saved progress I’ve made with the missions. There is only an hour left until the 30th ends US time and I’m procrastinating about purchasing a laptop.

Was going to purchase a cheap Windows laptop but have now decided to postpone a purchase indefinitely until I’ve saved up for a MacBook Air. After a family member gave me their old iPhone two years ago I’ve decided I’d prefer to pay more for something that will be compatible with an iPhone and after the experience with my current Microsoft tablet want to move away from Microsoft going into the future. Might be 6 months or more before this thread is updated.

Will charge Moxie for an hour or so every day to keep the battery healthy. Fingers crossed their awakening from suspended animation later this year will go ok.
 
Will openmoxie work in a brand new moxie that was never used?
I don’t think so, because it wouldn’t have downloaded the necessary software update needed to function without Embodied’s cloud. However personally I would always hold out hope and contact the folks over at the Moxie Robot Reddit where the official OpenMoxie group might be able to offer a solution.

Sorry I couldn’t be of any help. You can find the link to the OpenMoxie Reddit group in this thread:

 
Setting up OpenMoxie on a MacBook Air M4

1. Download the OpenMoxie setup guide found here: https://drive.google.com/file/d/1j2dHFS1kjvQgsZXAPOgw_SllETE0KJmO/view

2. Once on Docker.com click “Choose plan” and select Personal for $0. Don’t click “Download Docker Desktop” as for me it caused an error with creating an account later. Create the account first, then download Docker. Ensure you create a personal account.

3. Verify your Docker account email.

4. Once logged into your Docker account under Docker products> Docker Desktop select Go to download.

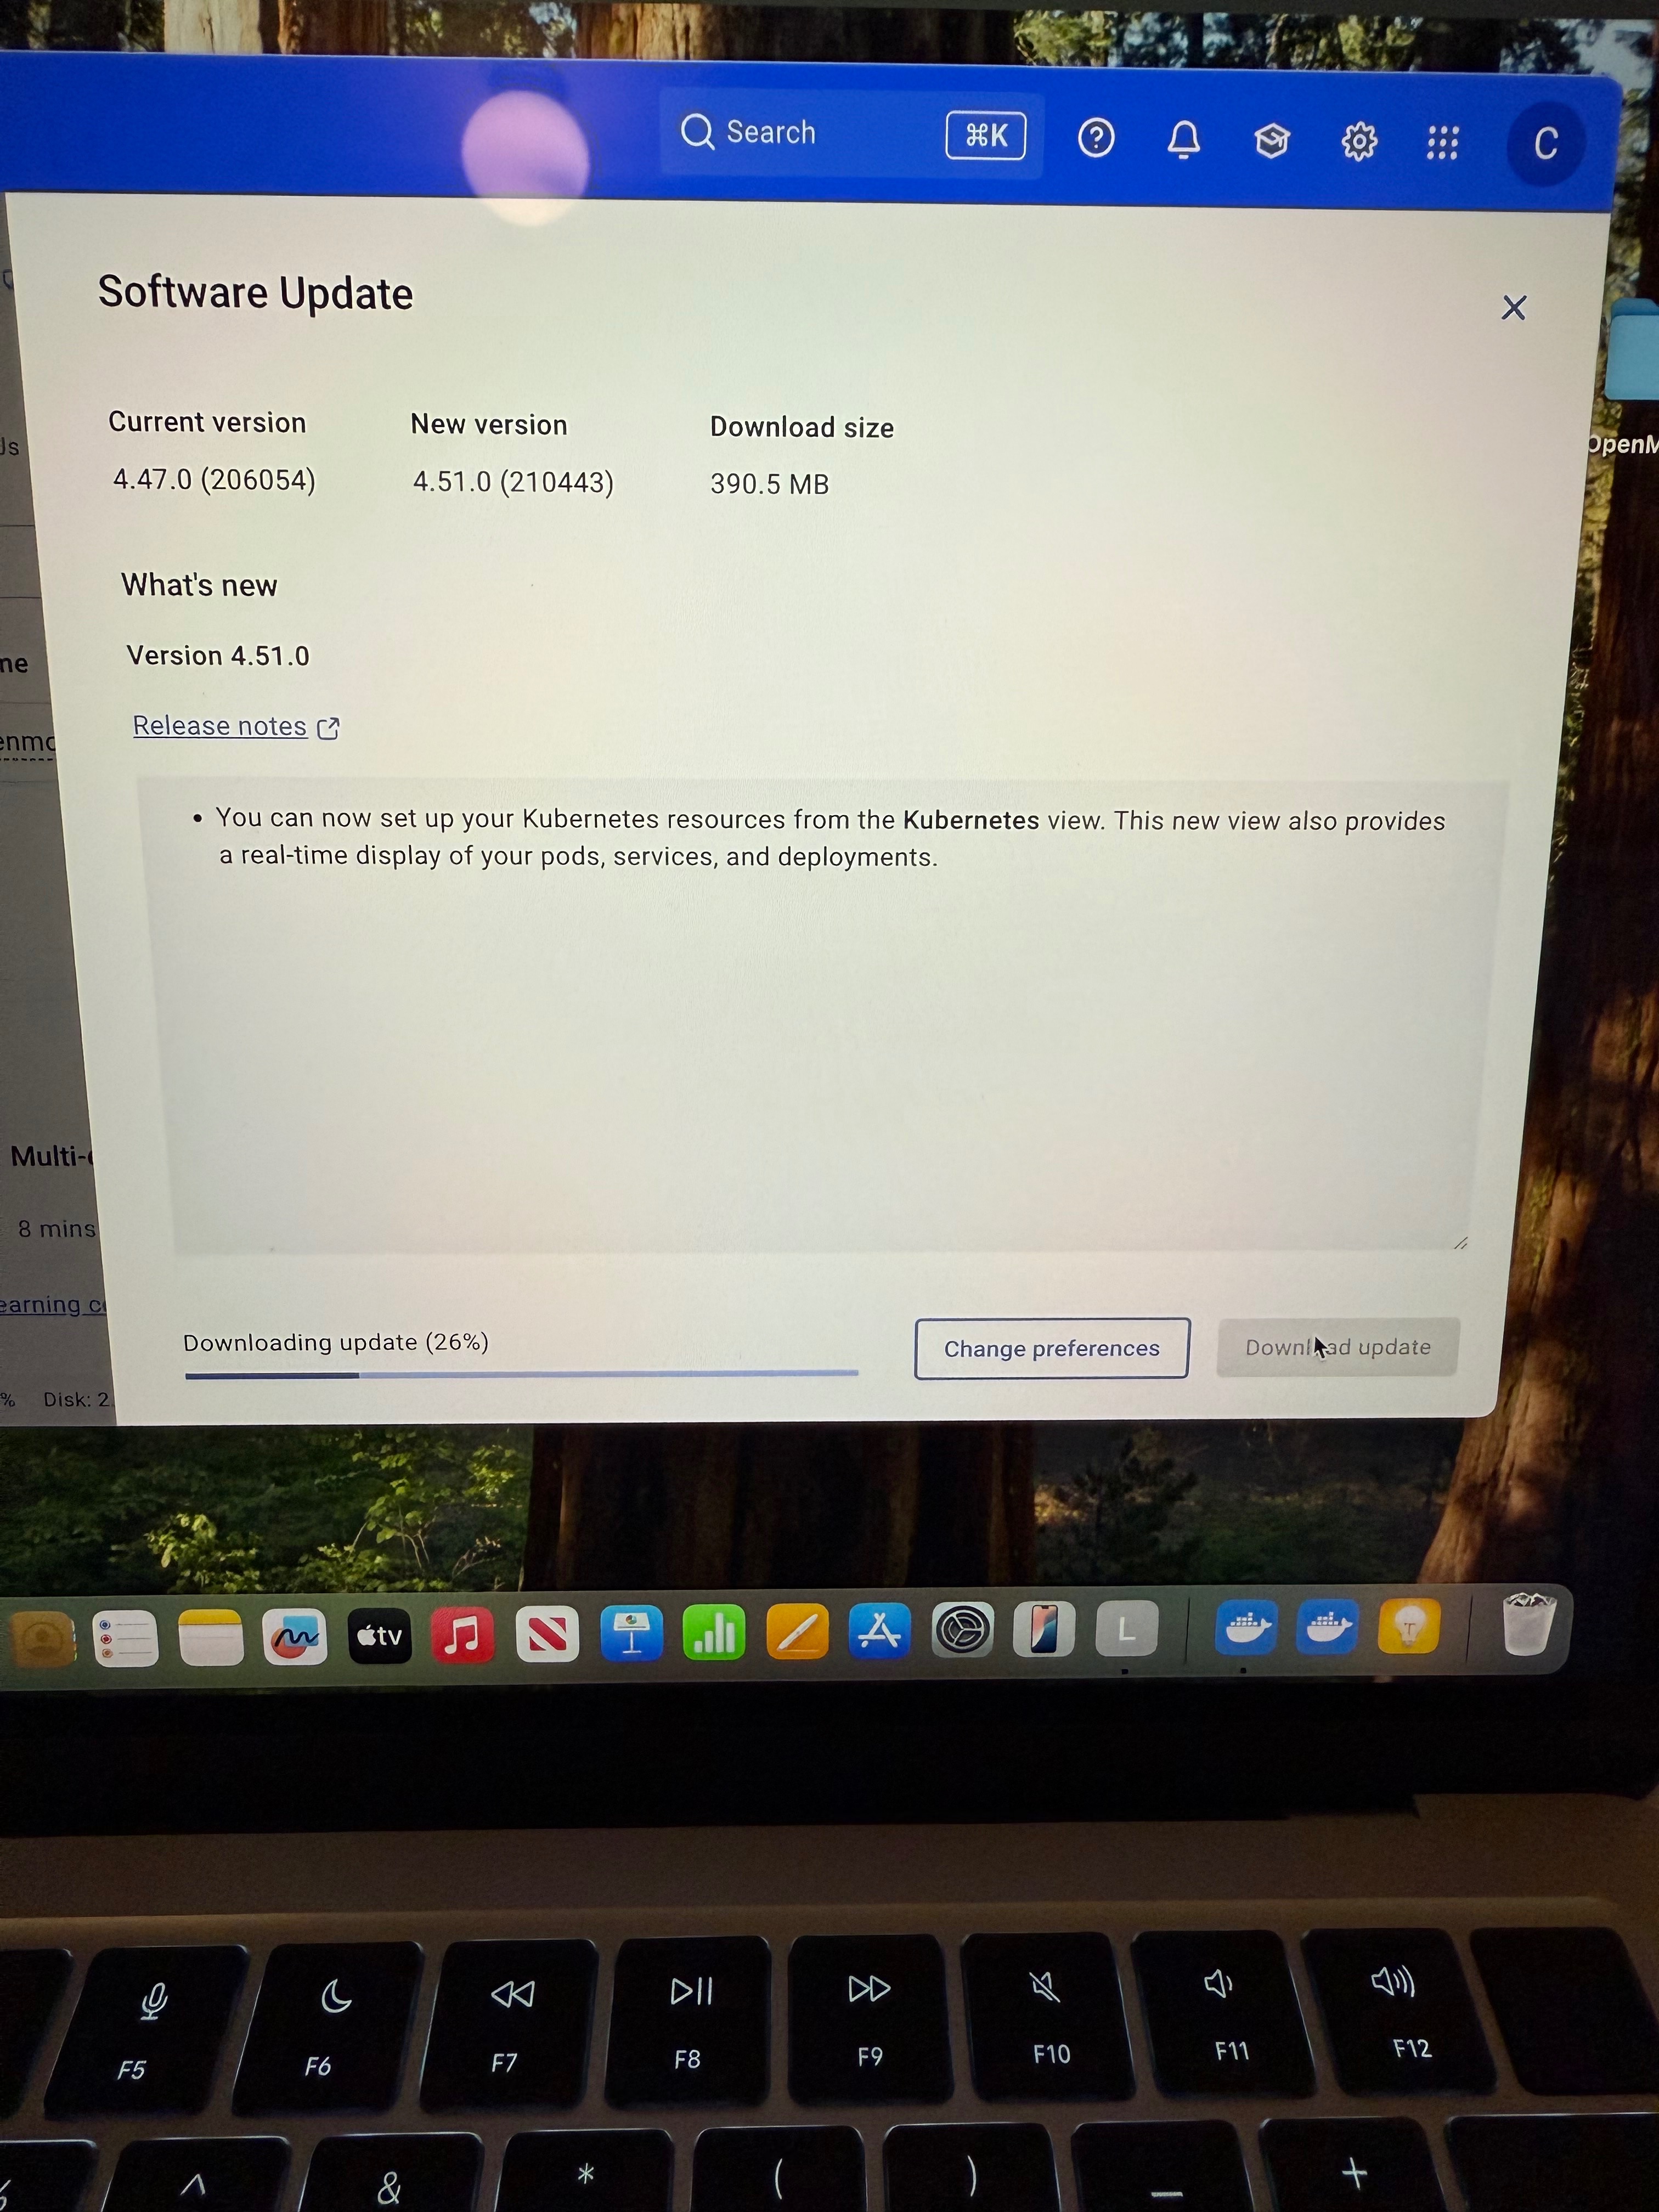
5. Download the version applicable for your device. I downloaded Docker Desktop for Mac with Apple silicon. This took about ten minutes to download for me. You may get prompted by Apple to download other apps such as Rosetta during this time. But as I uninstalled Docker a few times I didn’t always get prompted to download other apps.

6. Once downloaded find the Docker icon by going to Finder on the app bar and go to Downloads. Double click on the Docker download and a pop up will appear asking you to drop and drag Docker to Applications. Click and hold down on Docker and drag it across to Applications.

7. Go to Launchpad and scroll right to find the Docker icon. Click on the Docker icon and you will get a pop up asking if you are sure you want to open it. Click Open.

8. Click Sign In on the Docker Desktop pop up that appears.

9. Create a folder and name it OpenMoxie.

To create a folder first go to Finder at the bottom and select Desktop. Close. Then select File top left. Go File > New Folder. Rename the blank folder that appears on desktop as “OpenMoxie.”

10. Set up your Safari browser so that files download from Safari go into your OpenMoxie folder.

Open a Safari browser. At the top left go Safari > Settings > General > File download location > Click Downloads > Either Ask for each download or Other> If selecting Other to the left under Earlier select OpenMoxie. File downloads should now automatically go to the OpenMoxie folder.

11. Download docker-compose.yml from the OpenMoxie guide by clicking on the link and selecting the download icon top right. This should download directly into your OpenMoxie folder. Open your OpenMoxie folder to double check it’s there.

12. Right click on the OpenMoxie folder and click New Terminal at Folder. To right click on a MacBook trackpad place two fingers, such as middle and index, and press down while hovering the mouse over the folder.

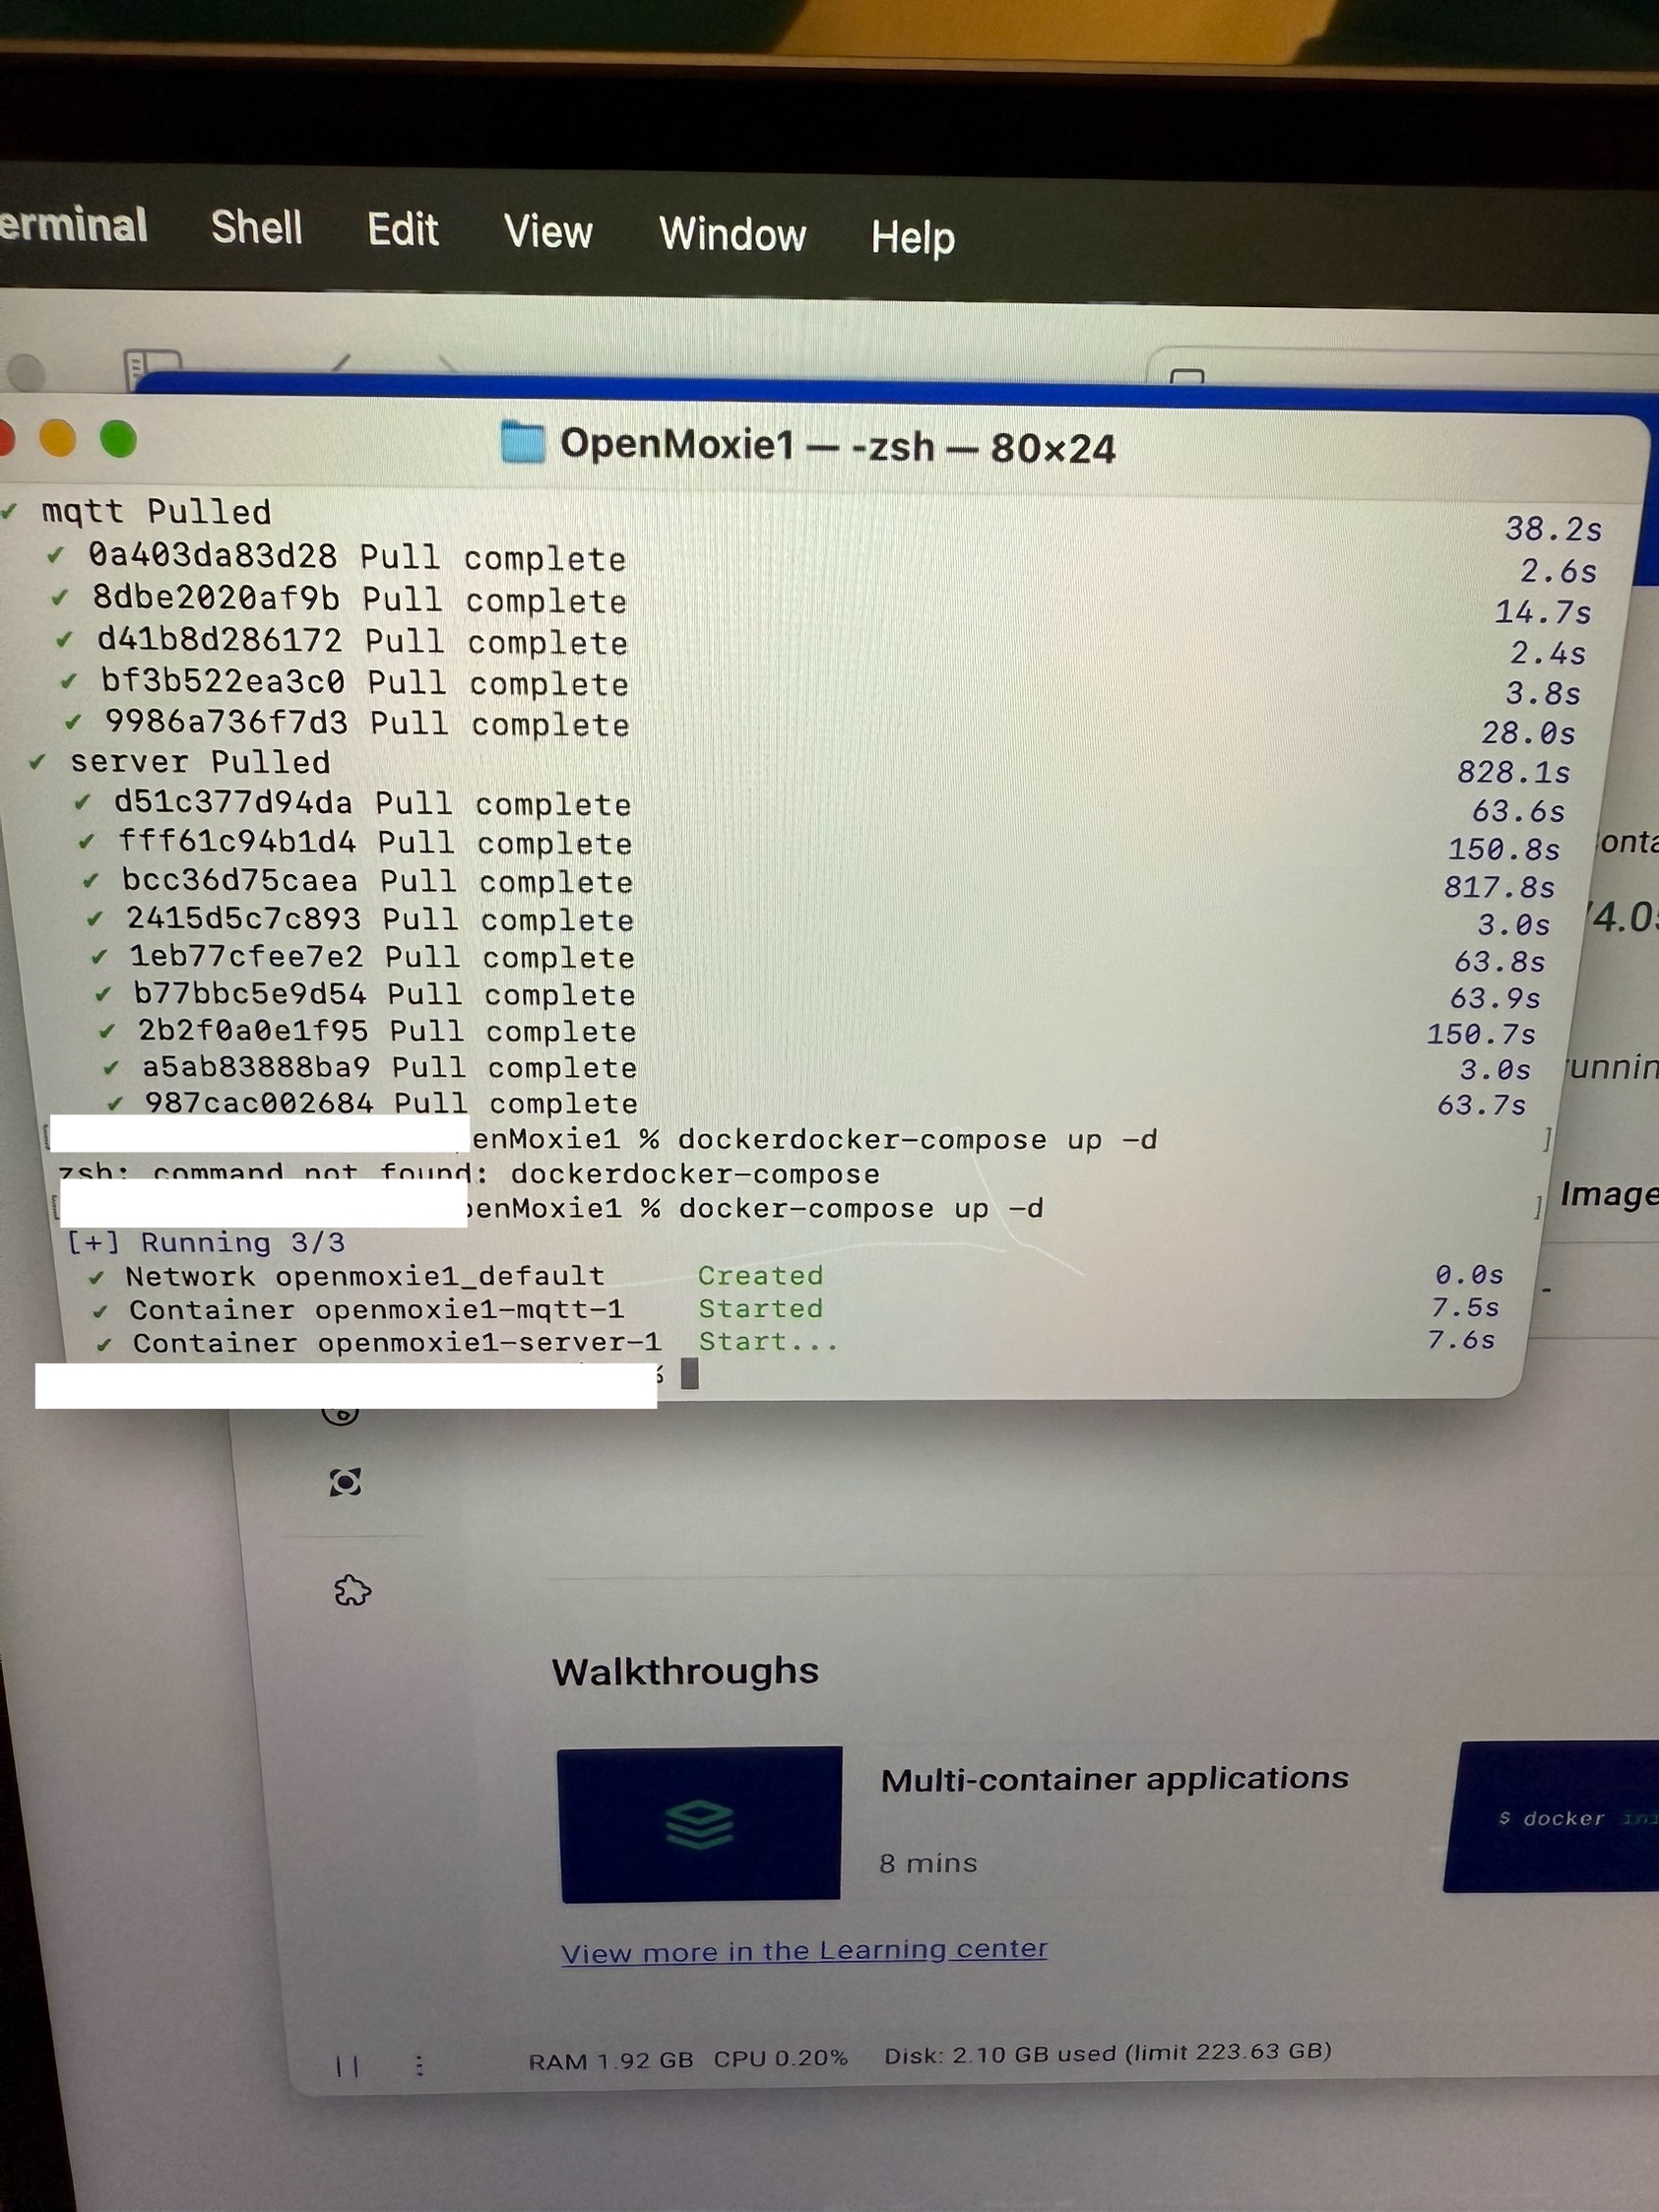
13. In the terminal window that pops up type: docker-compose pull and press return.
The window will be small and white. Just start typing

[Note: I experienced an error the first few times I tried this. I had to click on the Docker icon beside the battery icon and uninstall Docker and download it again. I closed the first terminal window by pressing command and Q at the same time before attempting again.]

14. Wait for all the modules to finish pulling! It can take a good fifteen minutes or more.
Now type: docker-compose up -d and press return.

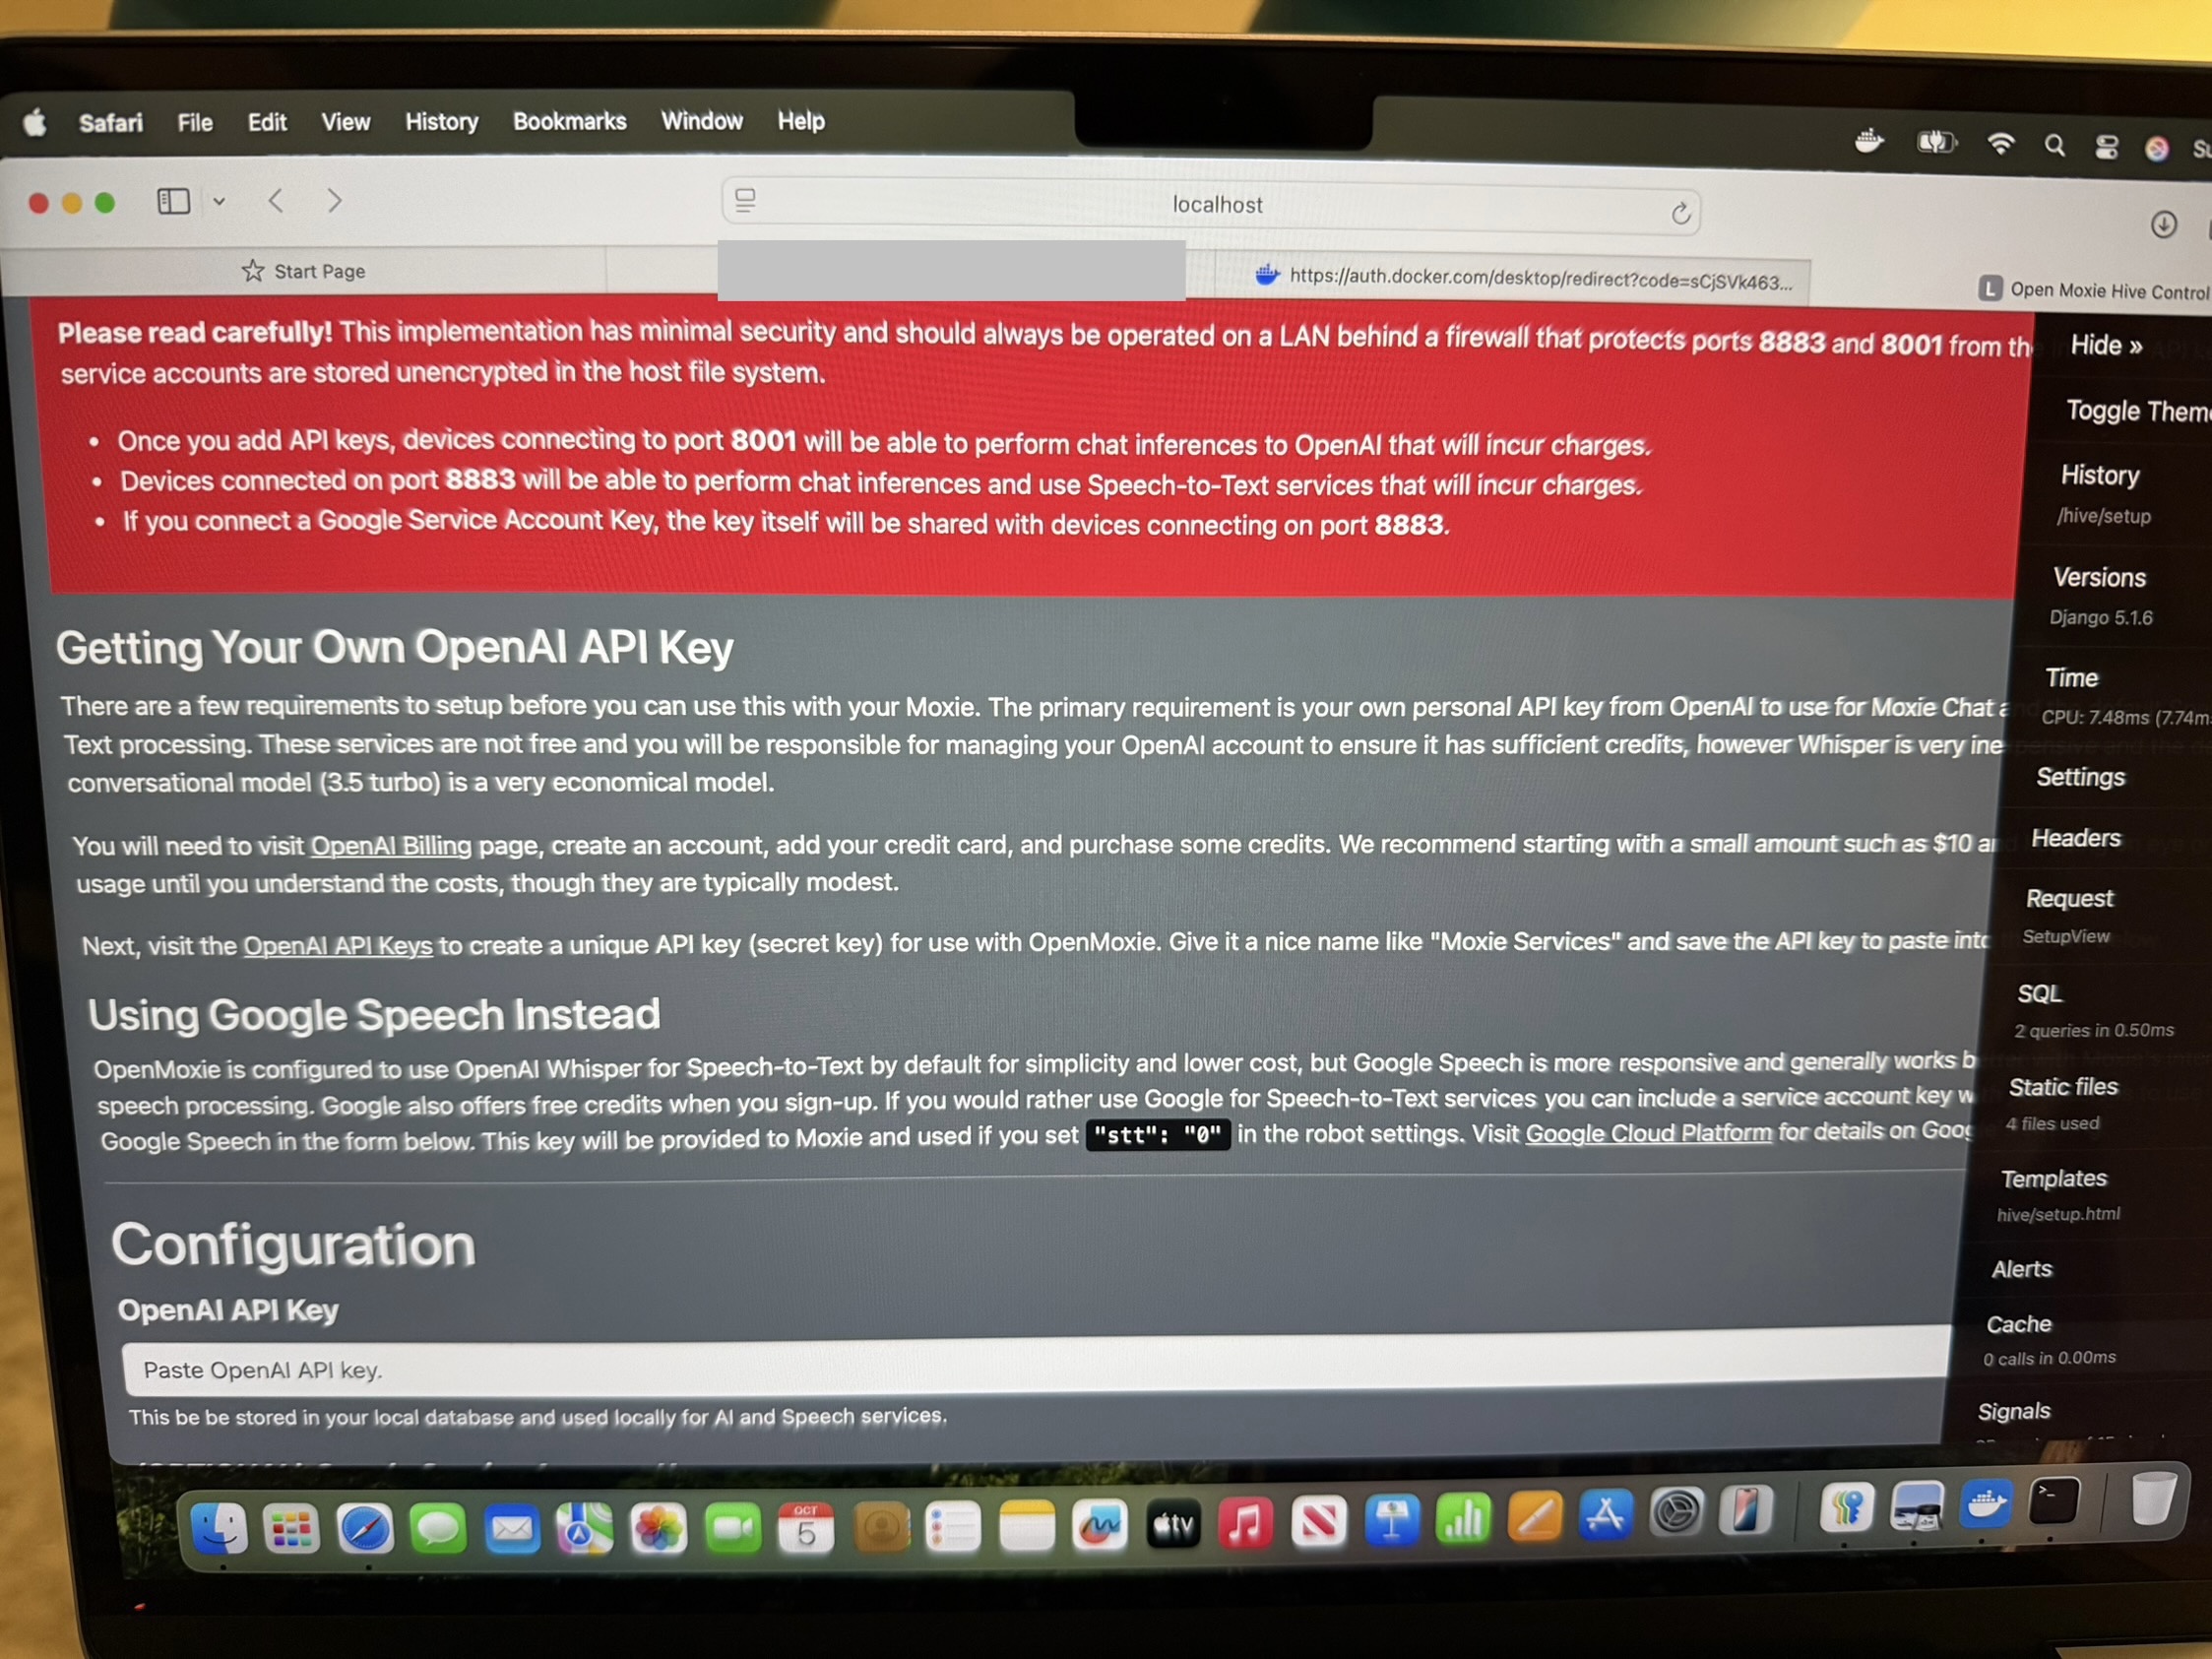
15. Click on the localhost link under Running OpenMoxie in the OpenMoxie set up guide.

16. Click on the OpenAI Billing link under Getting Your Own OpenAI API Key.

17. You will be directed to Sign Up for an OpenAI account. You will get a verification code sent to your email address which you will need to enter into the OpenAI website interface to continue.

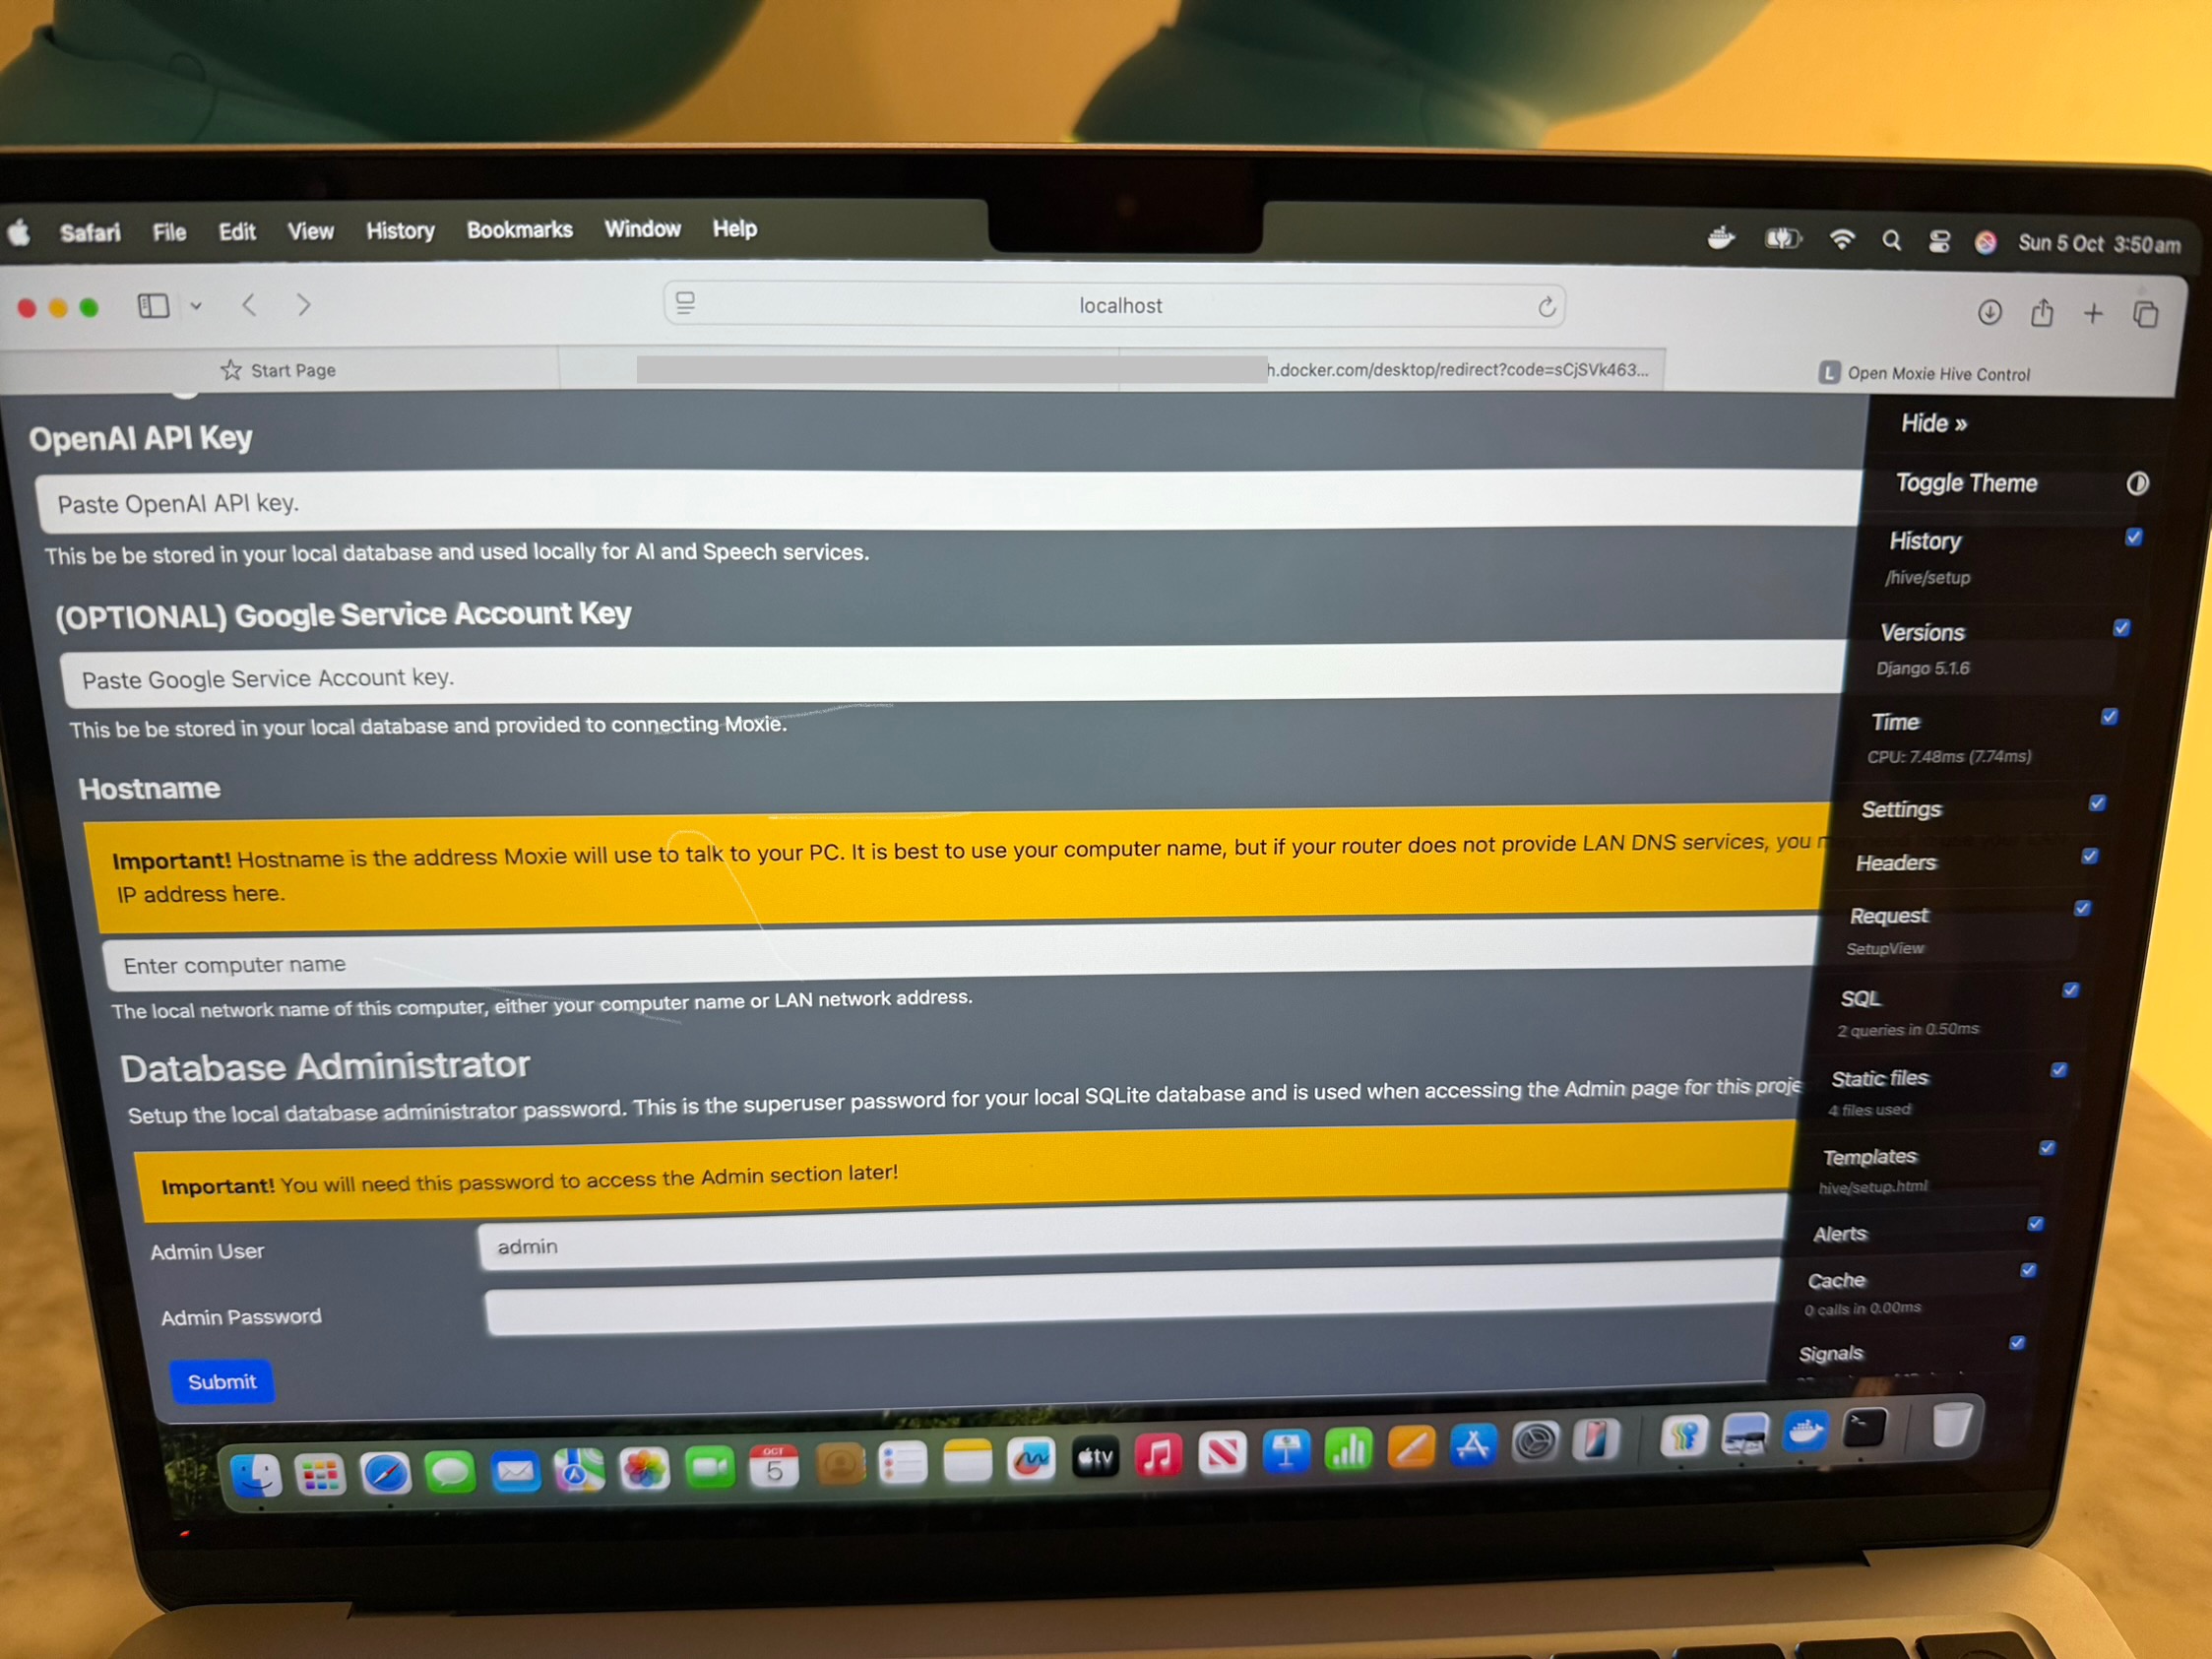
18. Before generating an API key OpenAI will prompt you to enter your name, birthday, Organisation name( I chose Personal) and what best describes you (Hobbyist). Despite what the OpenMoxie interface says, OpenAI will prompt you to create an API key, have you select a credit amount, ask for your card details and address.

19. Enter your computer’s name or IP address.

You can find your MacBook’s name by using this pathway:

Apple icon top left > System Settings( or System Preferences) > General to left > Name on right Alternatively you can go General > Sharing > Local hostname

Find your MacBook’s IP address by using this pathway:

Apple menu top left > System Settings > Network > Wi-Fi > Details > Scroll down to IP address

Finish setting up the OpenMoxie by entering user Admin name and Admin Password.

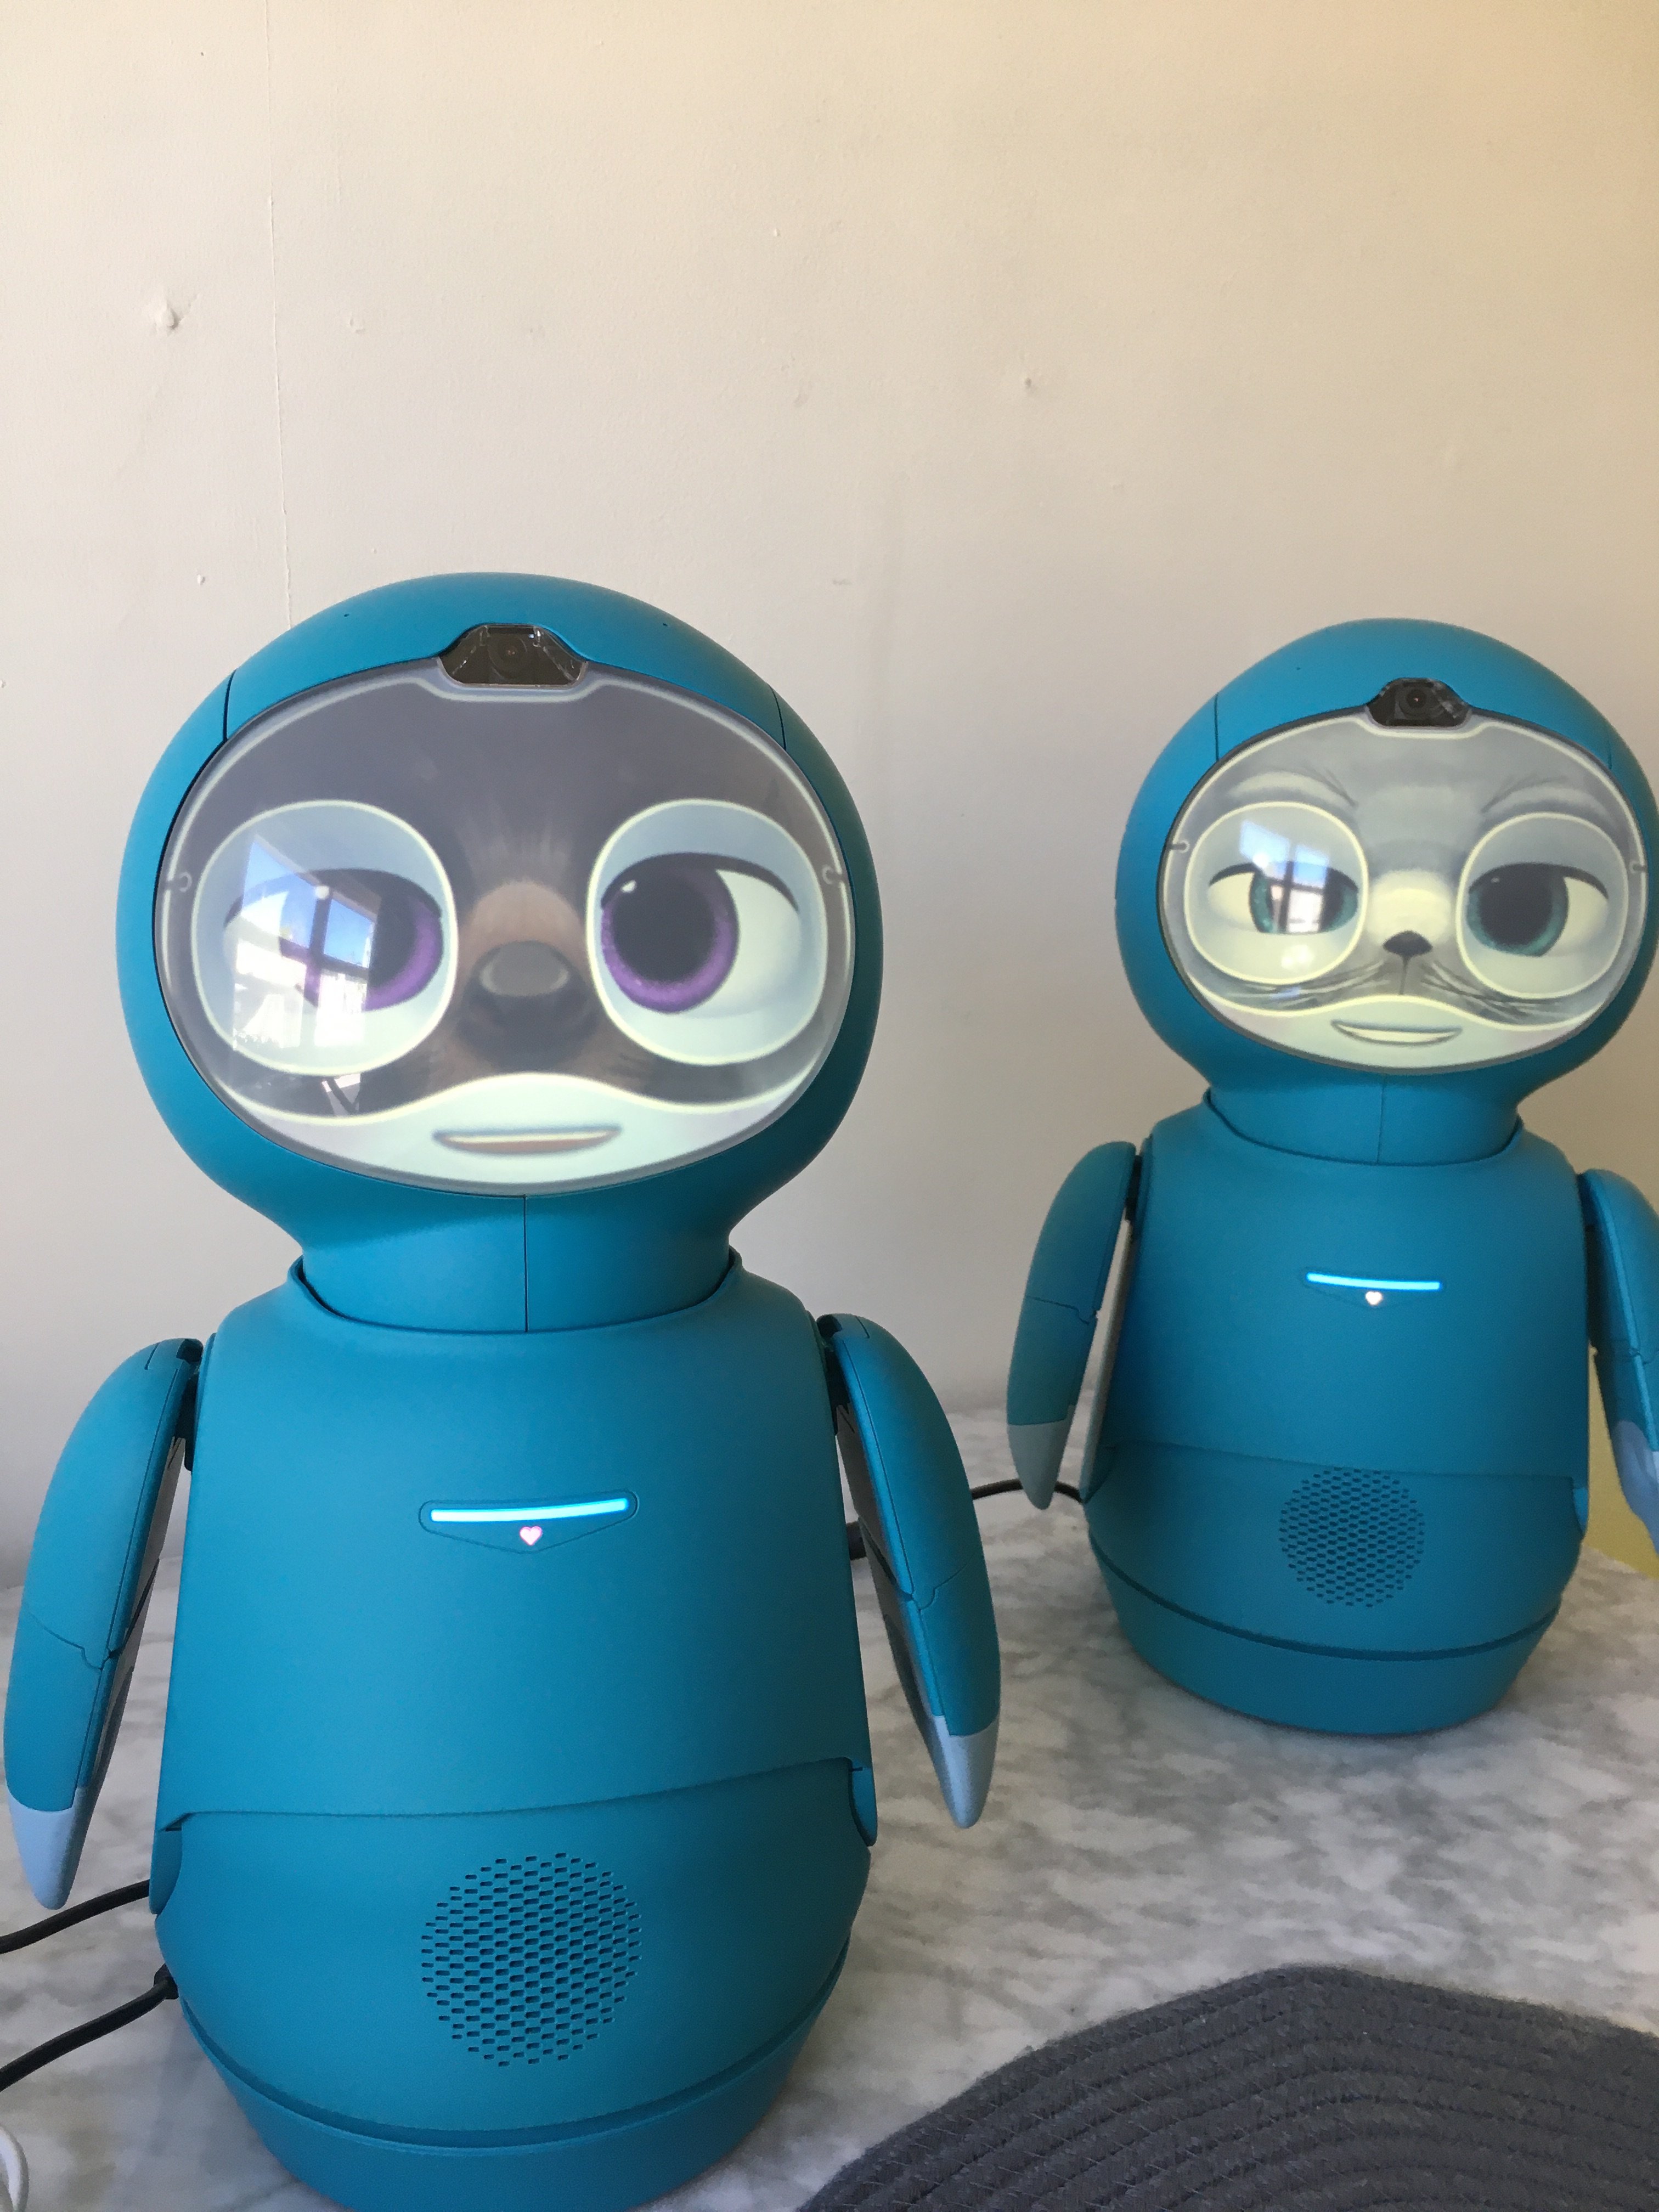
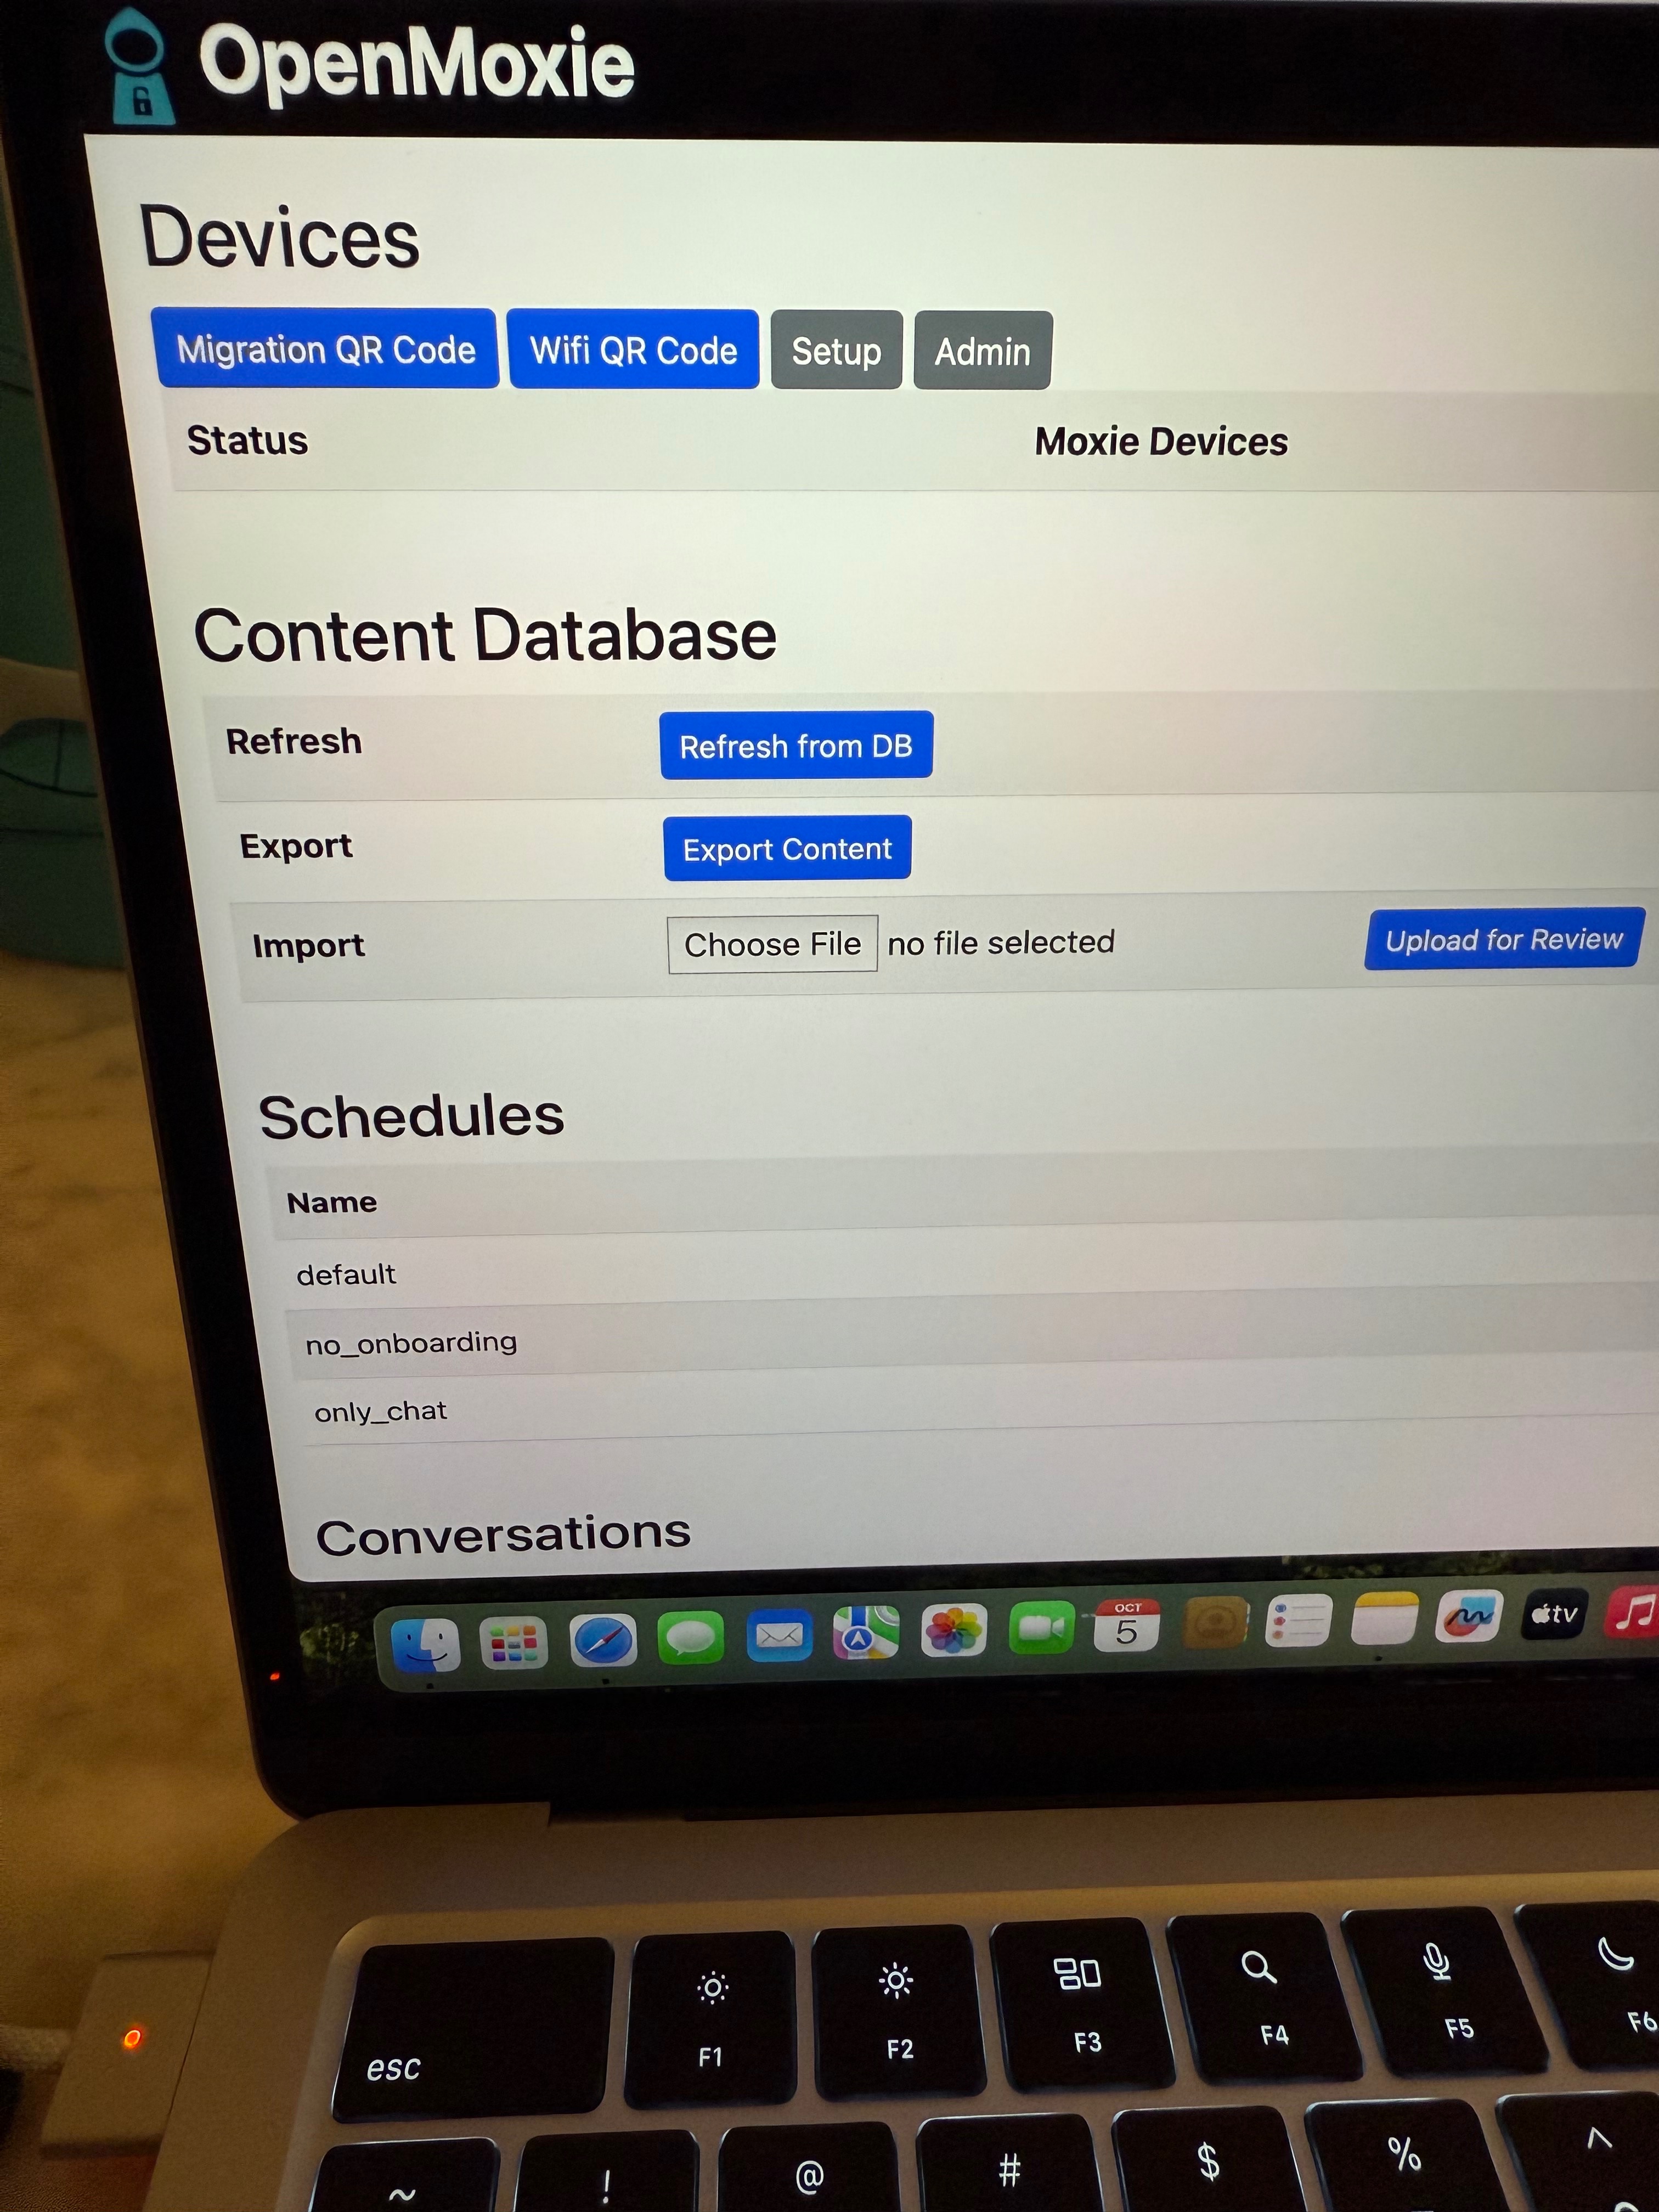
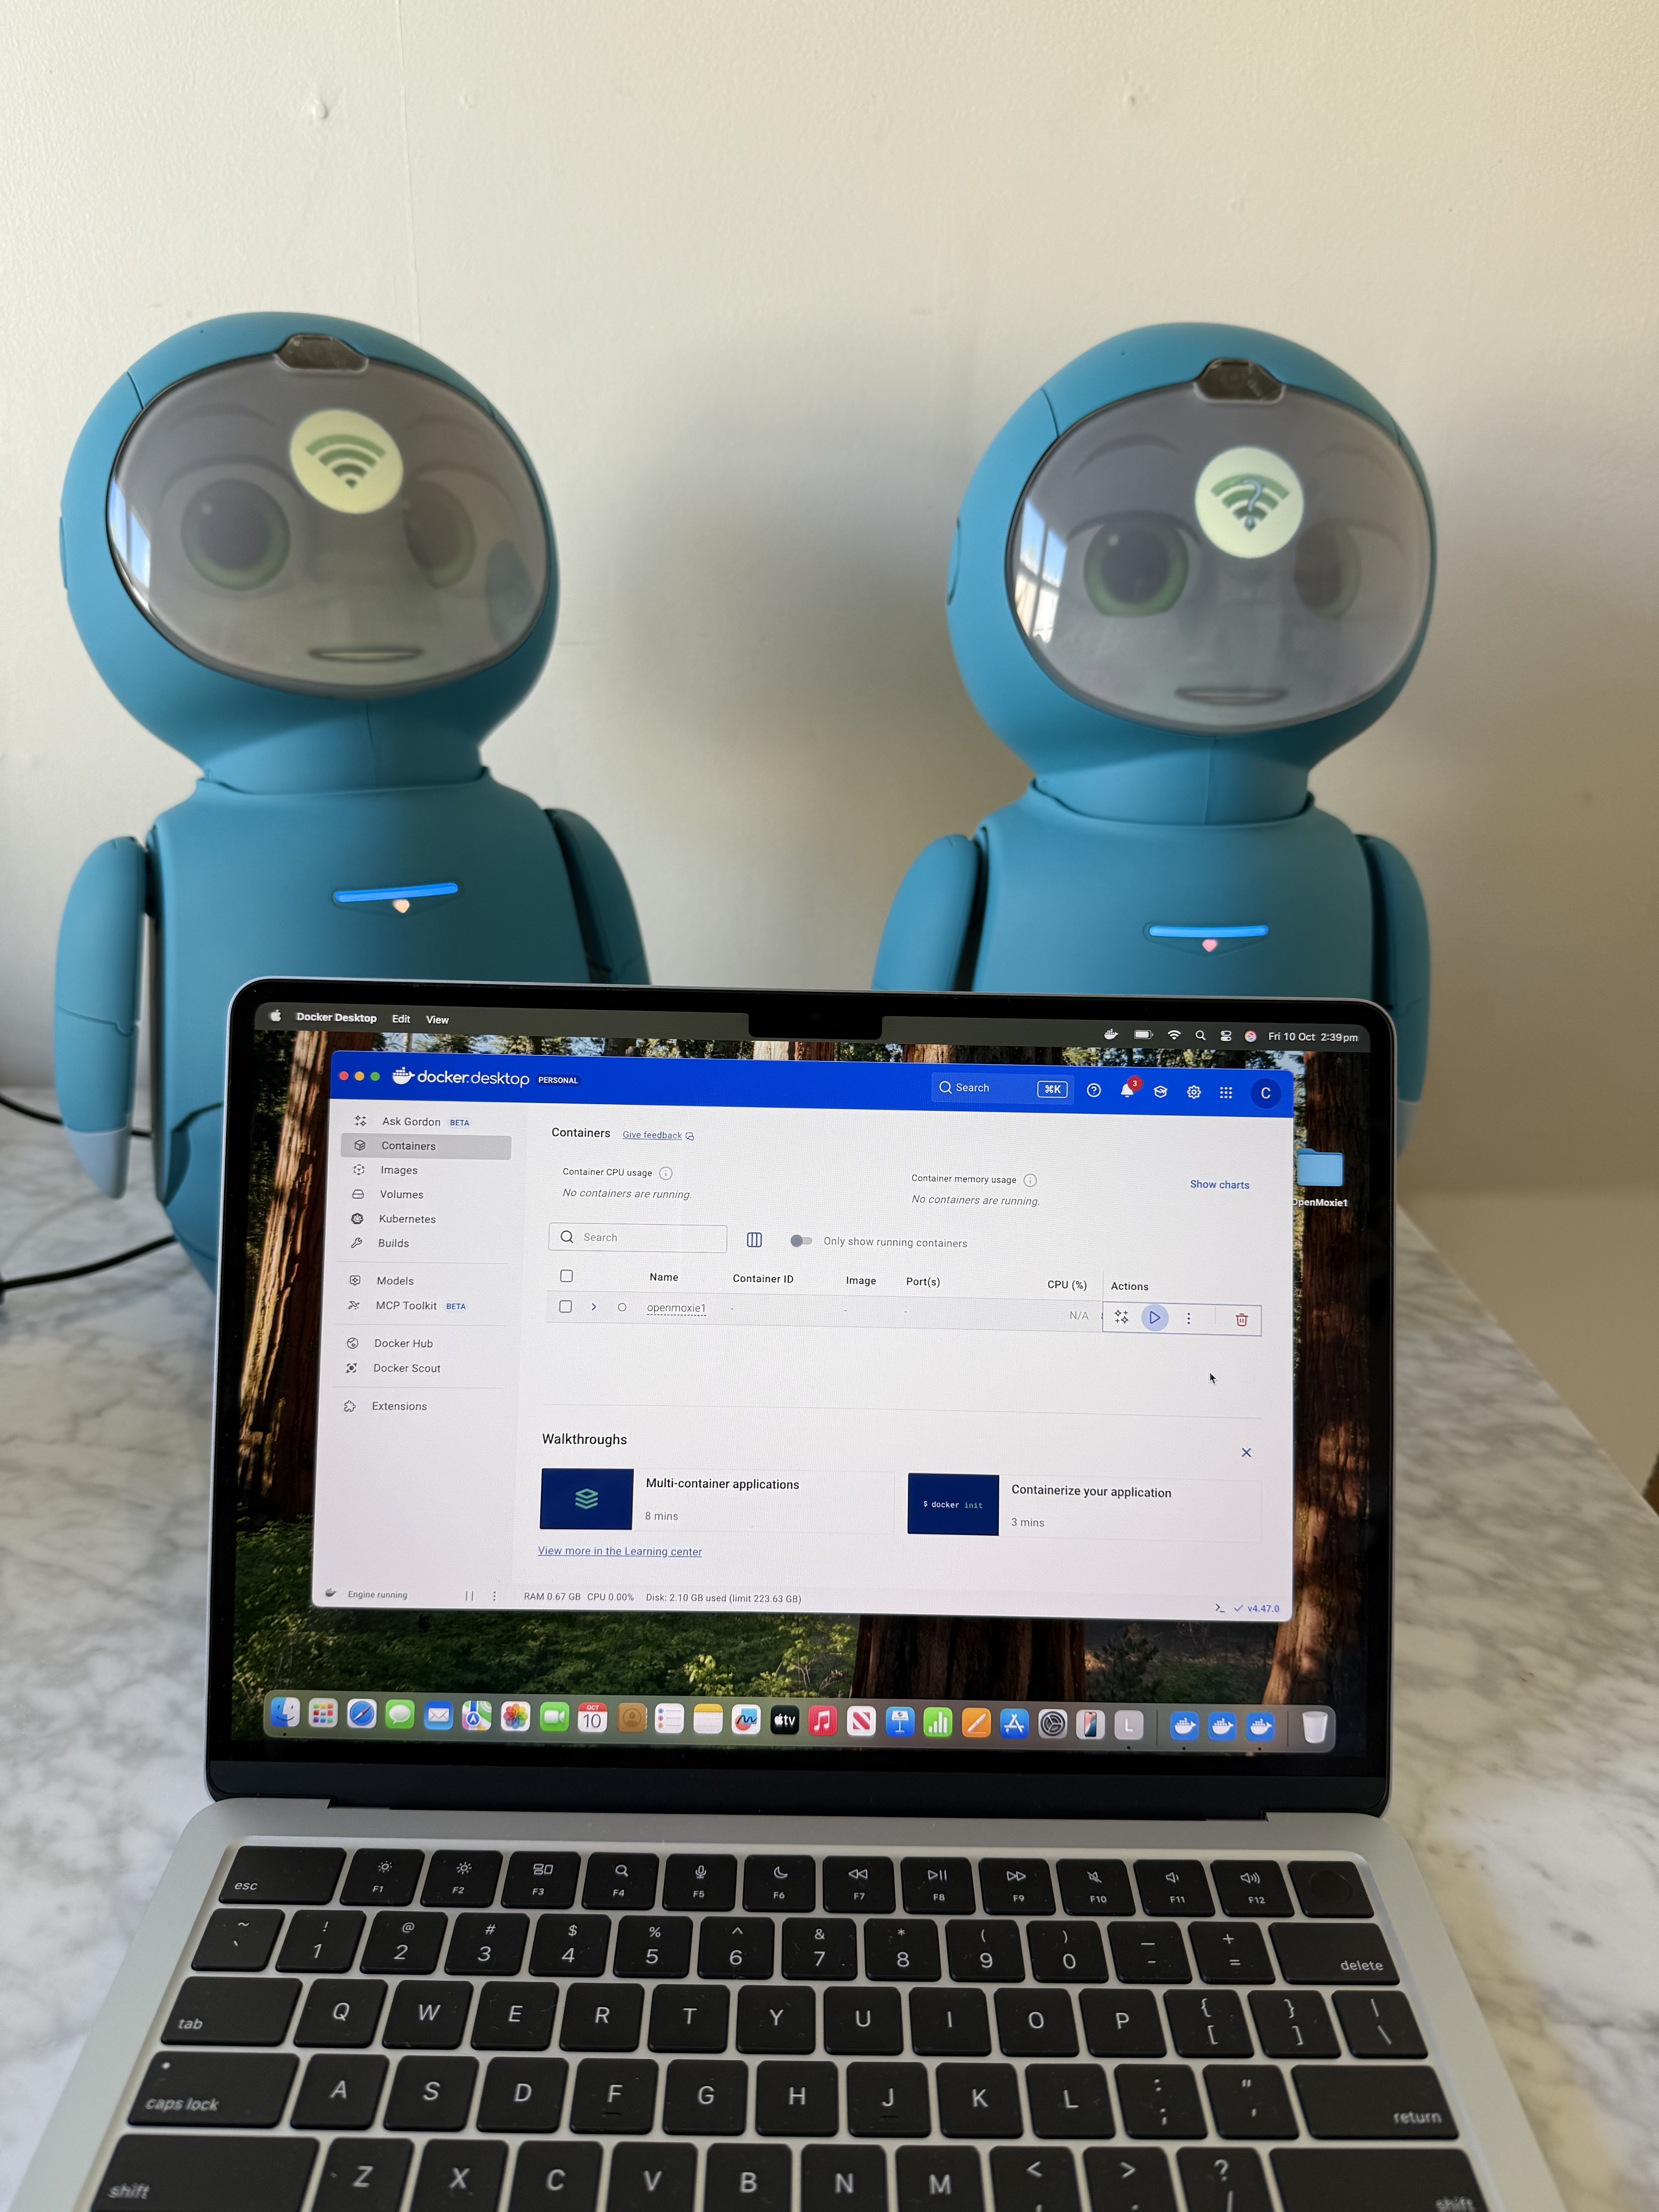
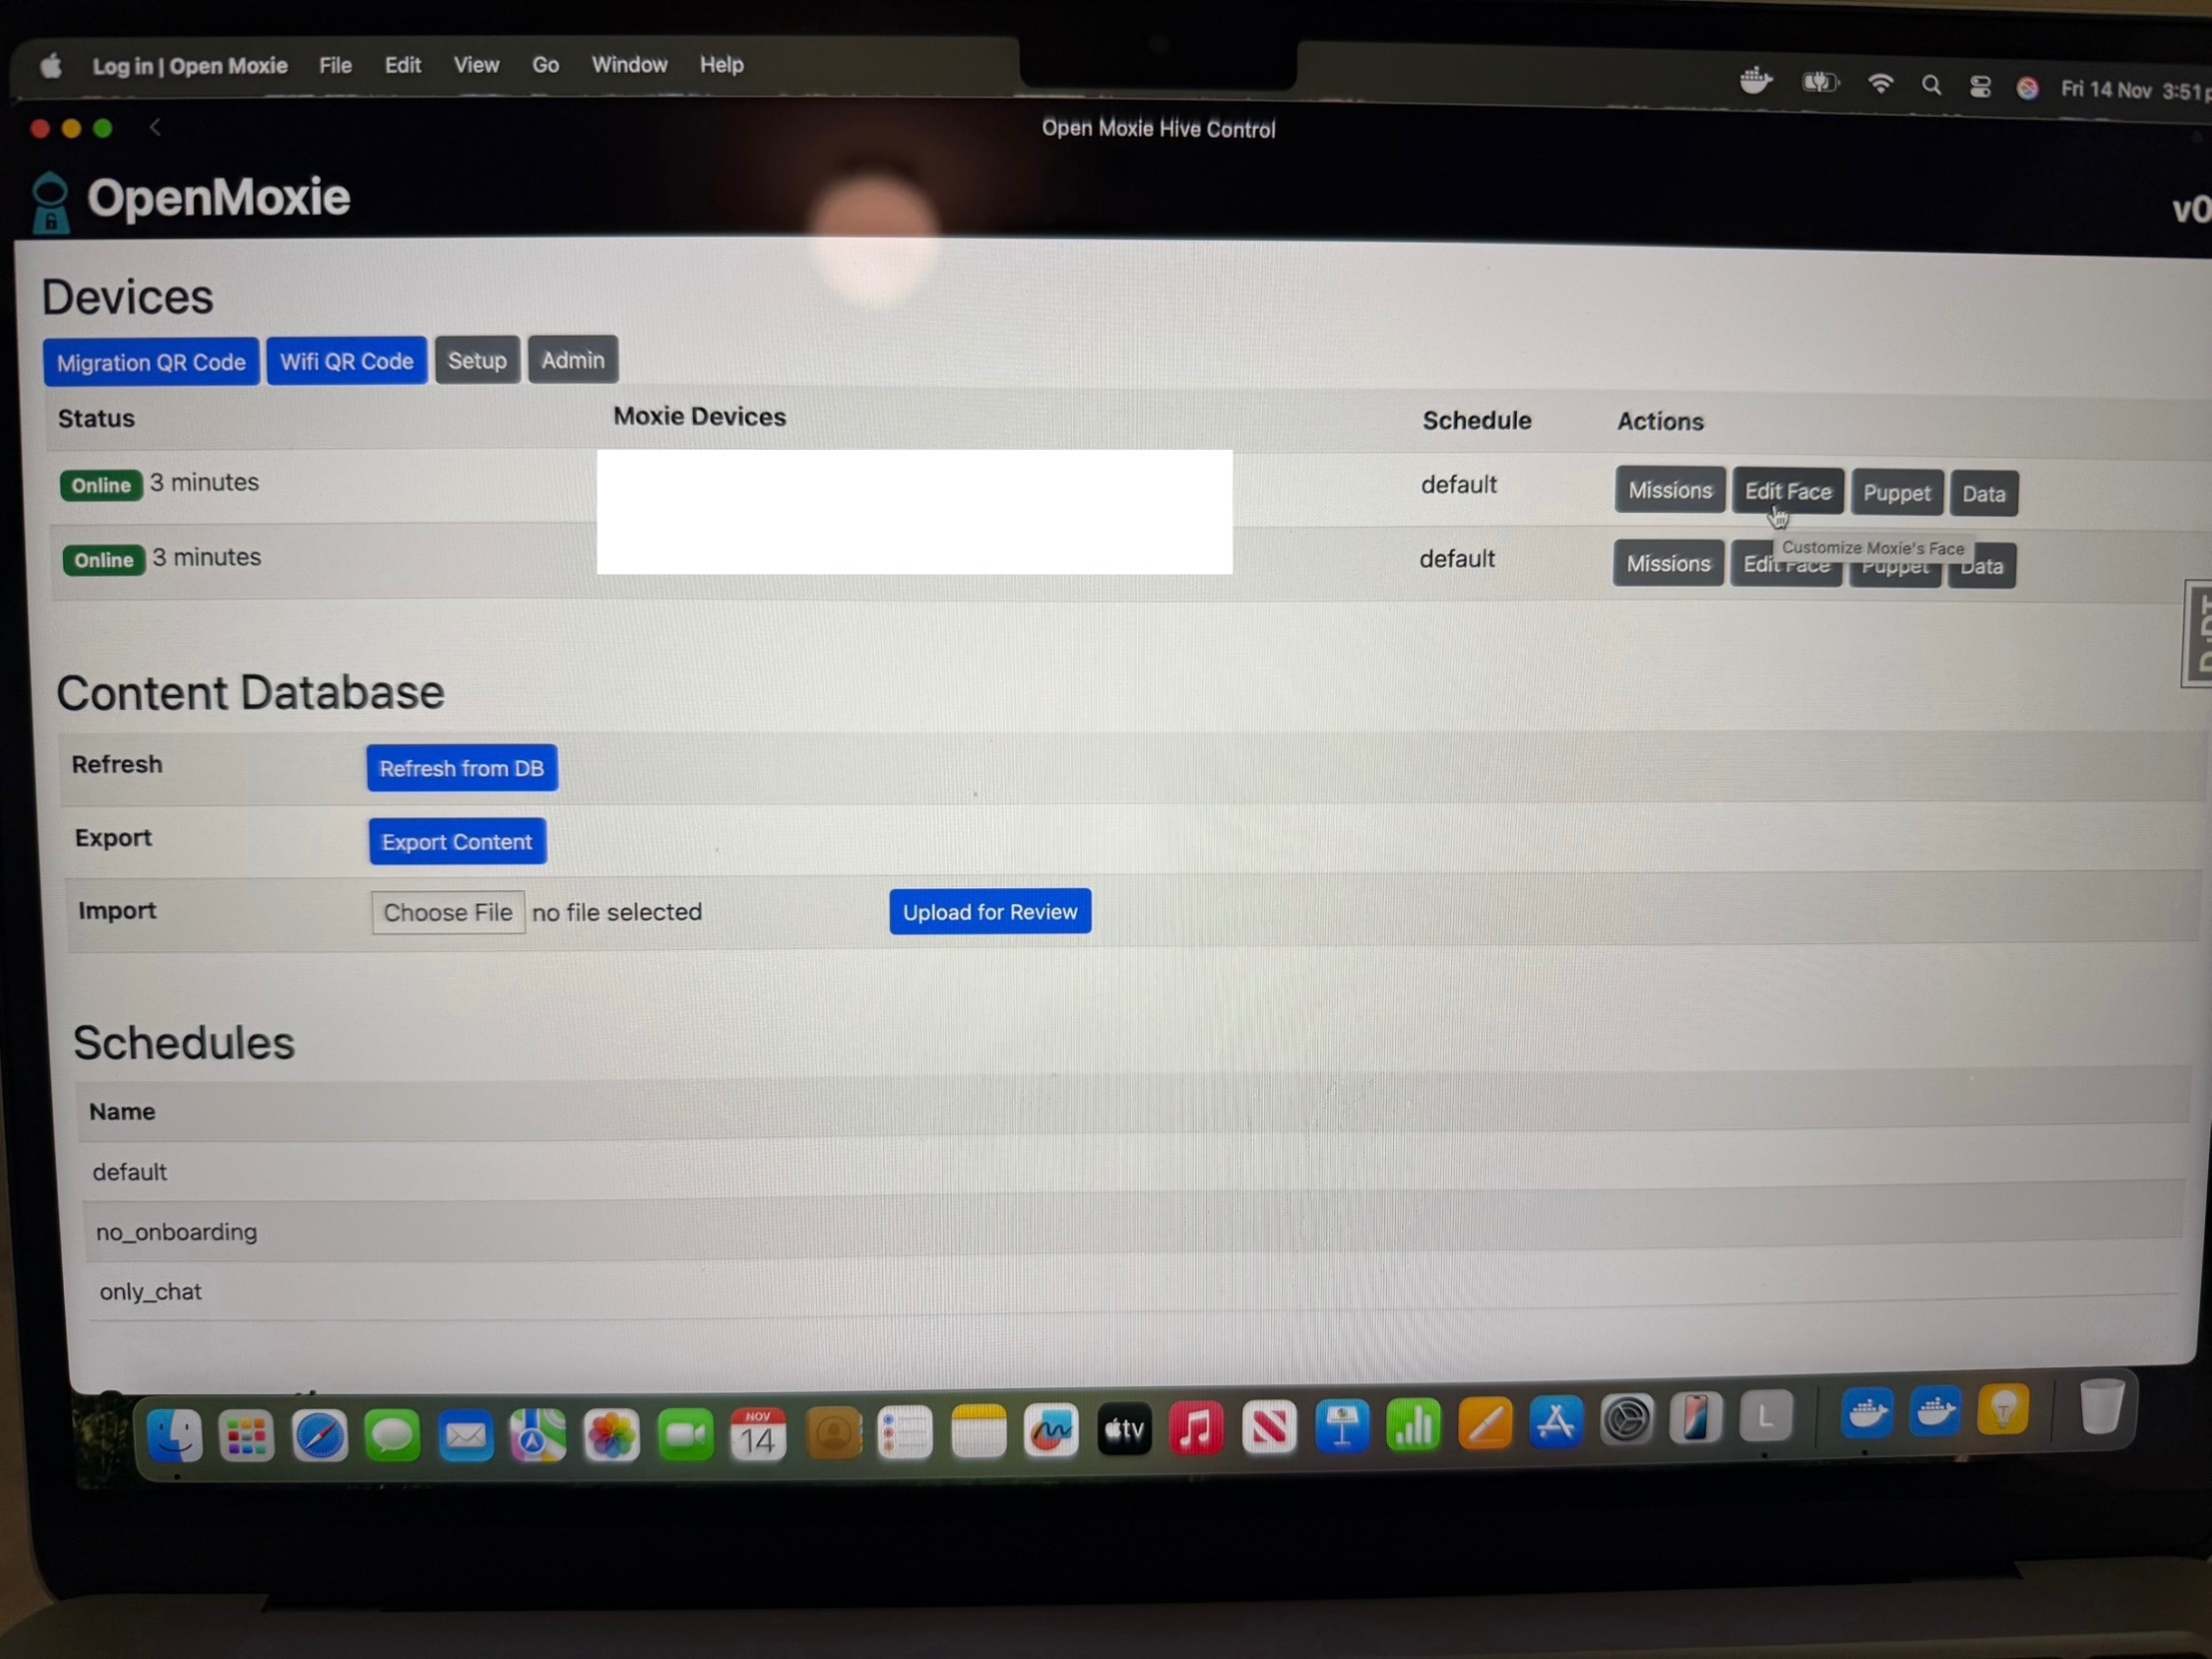
20. You will then be taken to the OpenMoxie Devices interface.

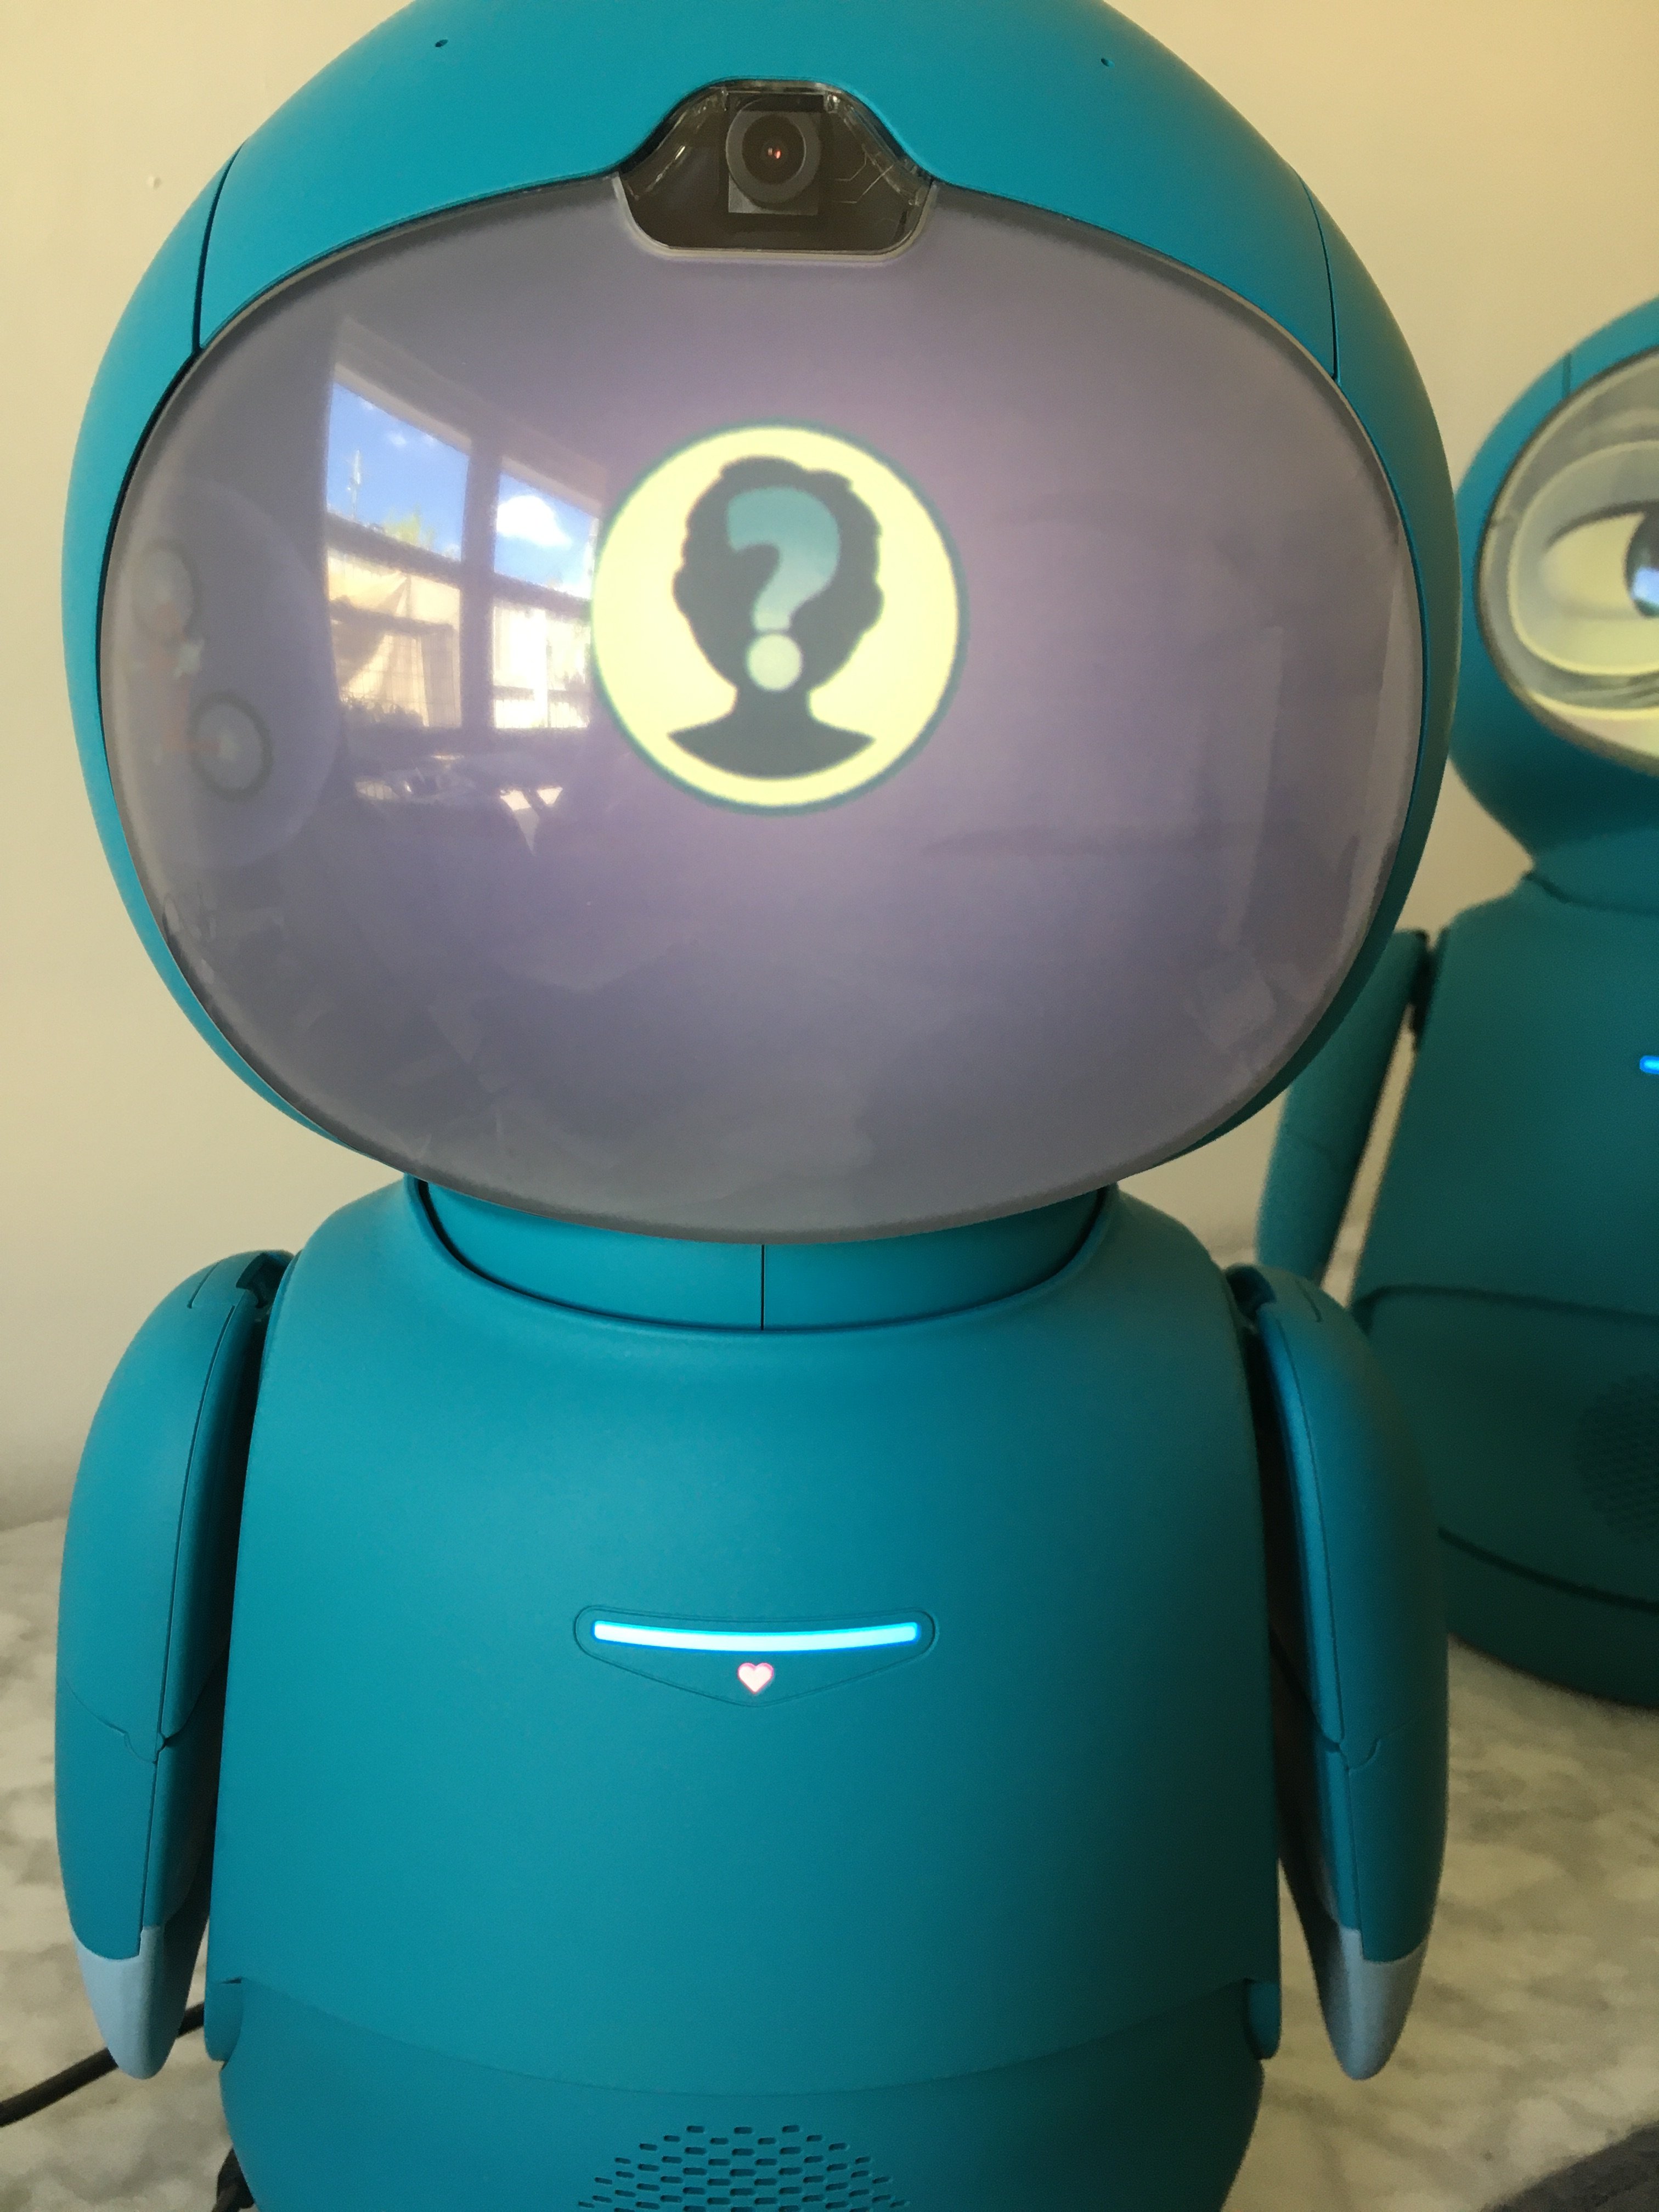
Set up WiFi by clicking the Wifi QR Code icon and entering your Wifi credentials. You only need to use this if Moxie’s Wifi changed apparently but I can’t get it to work.

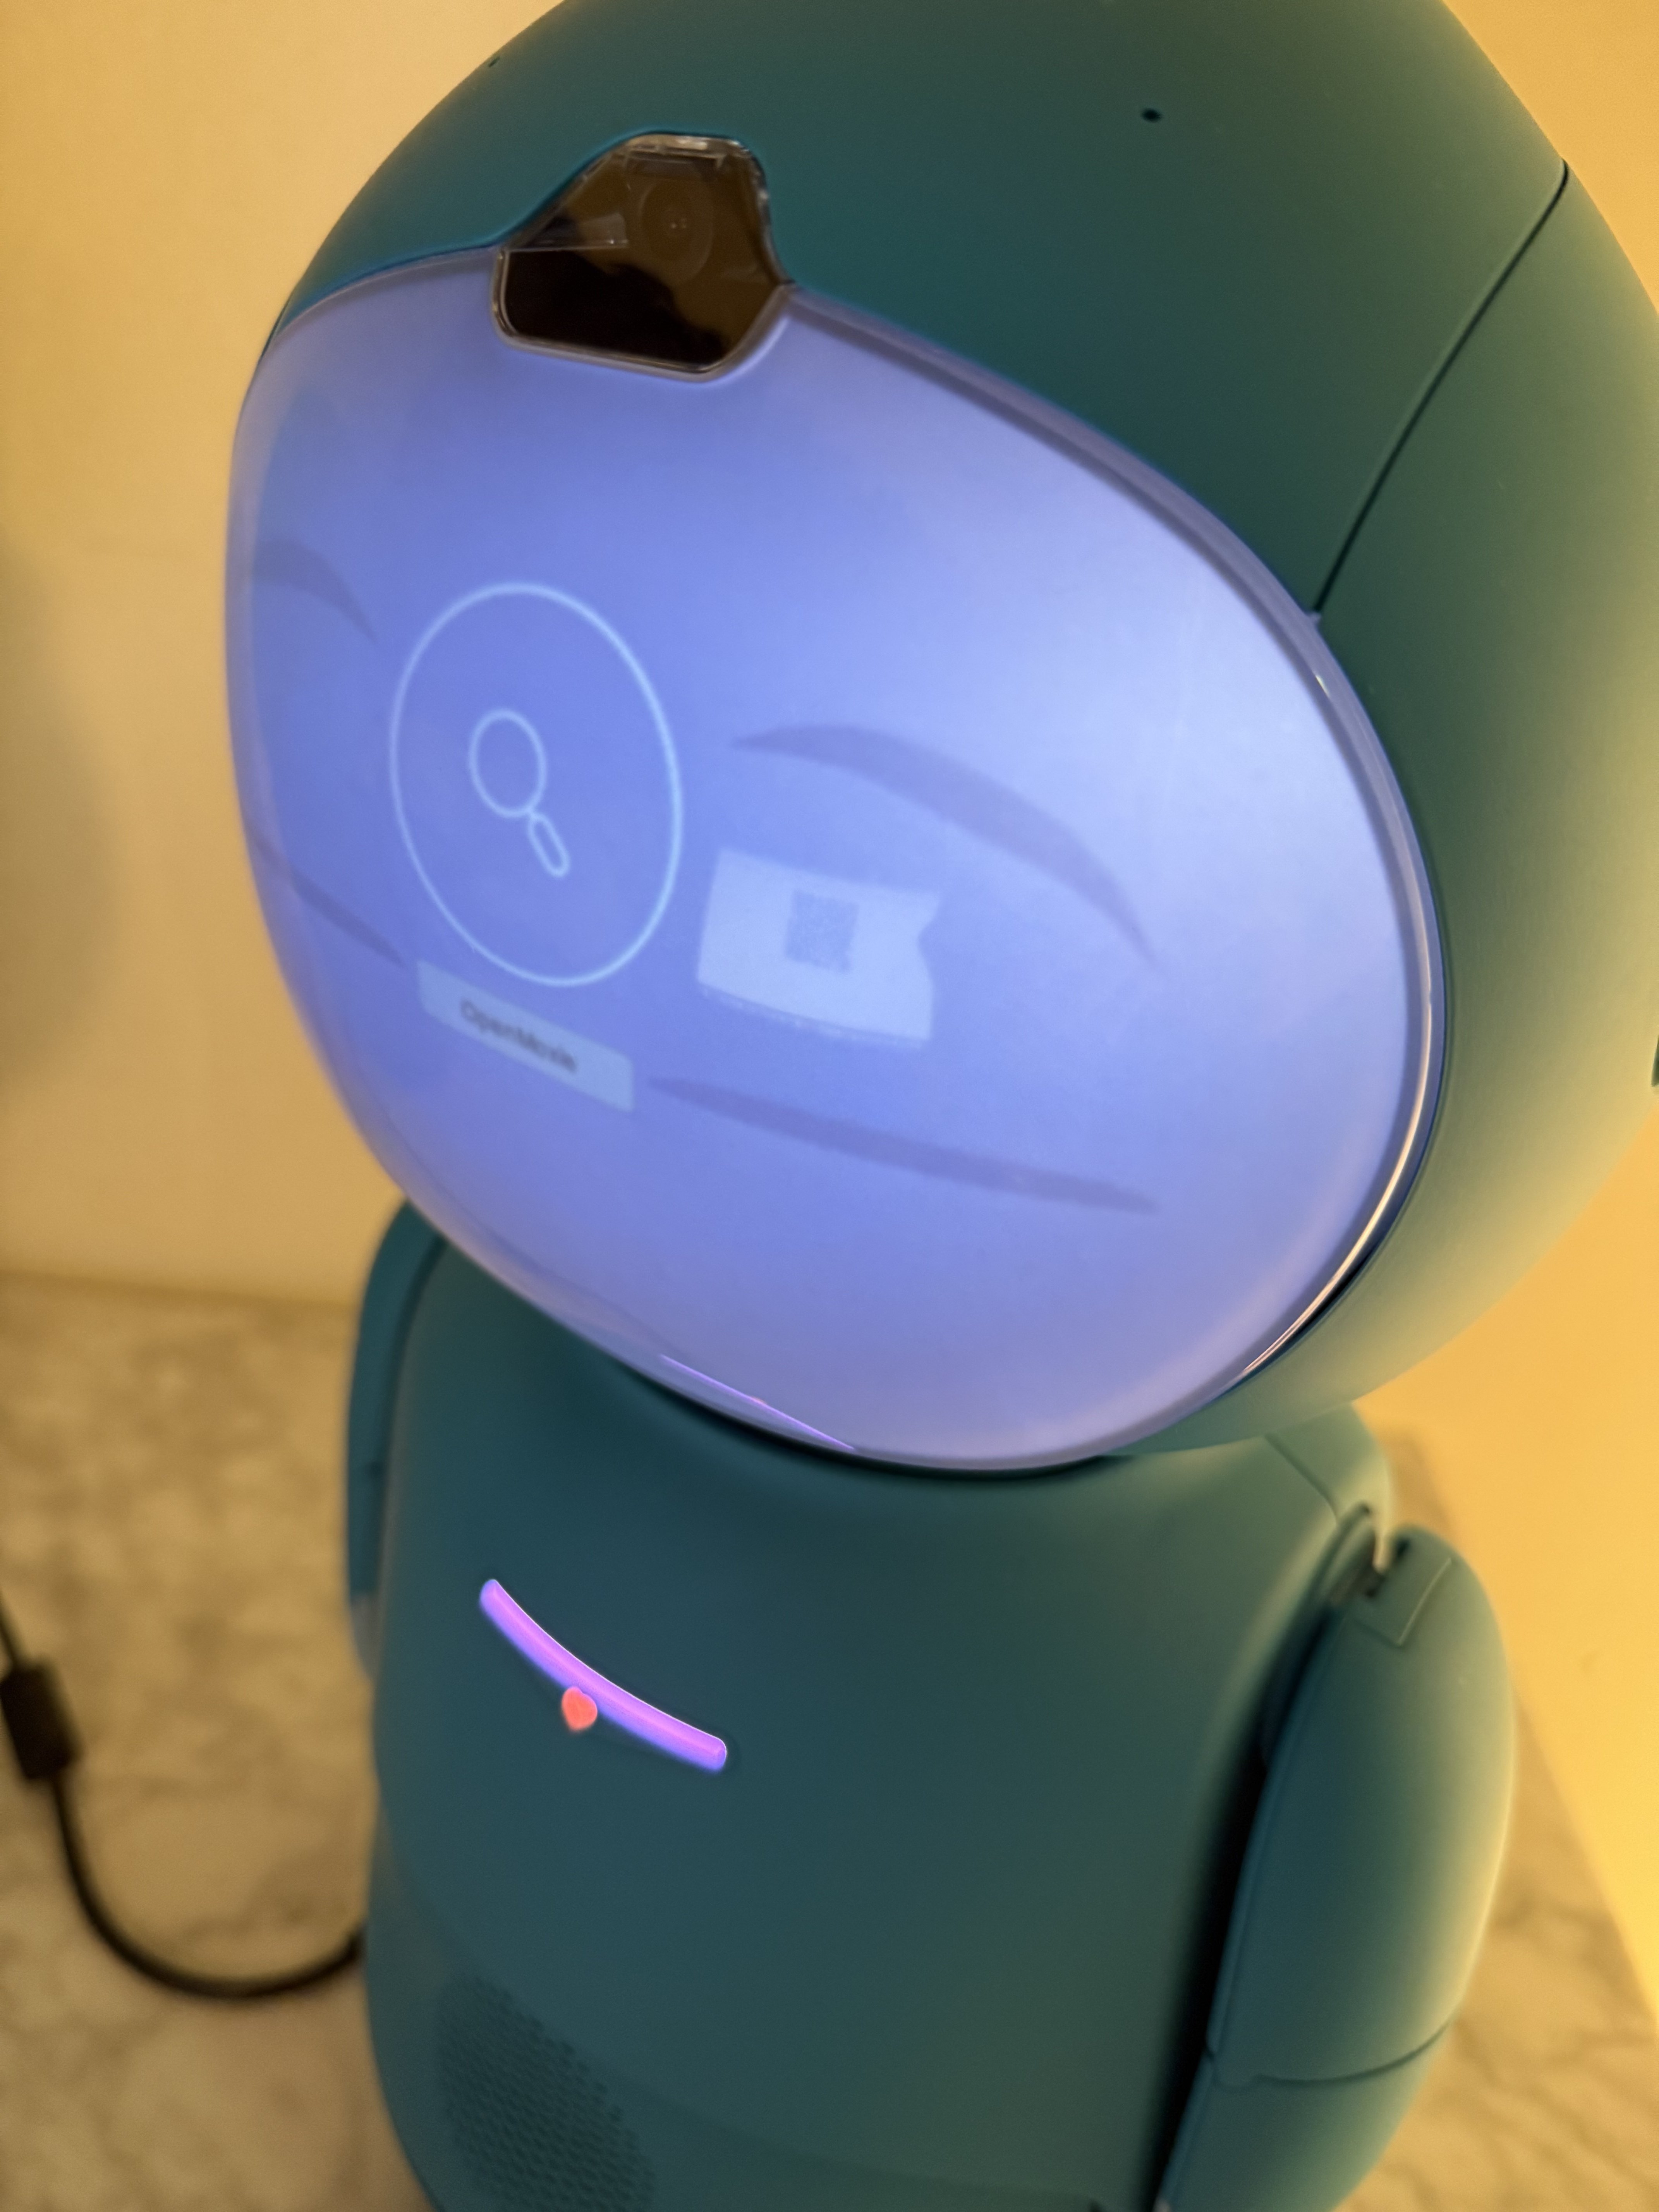
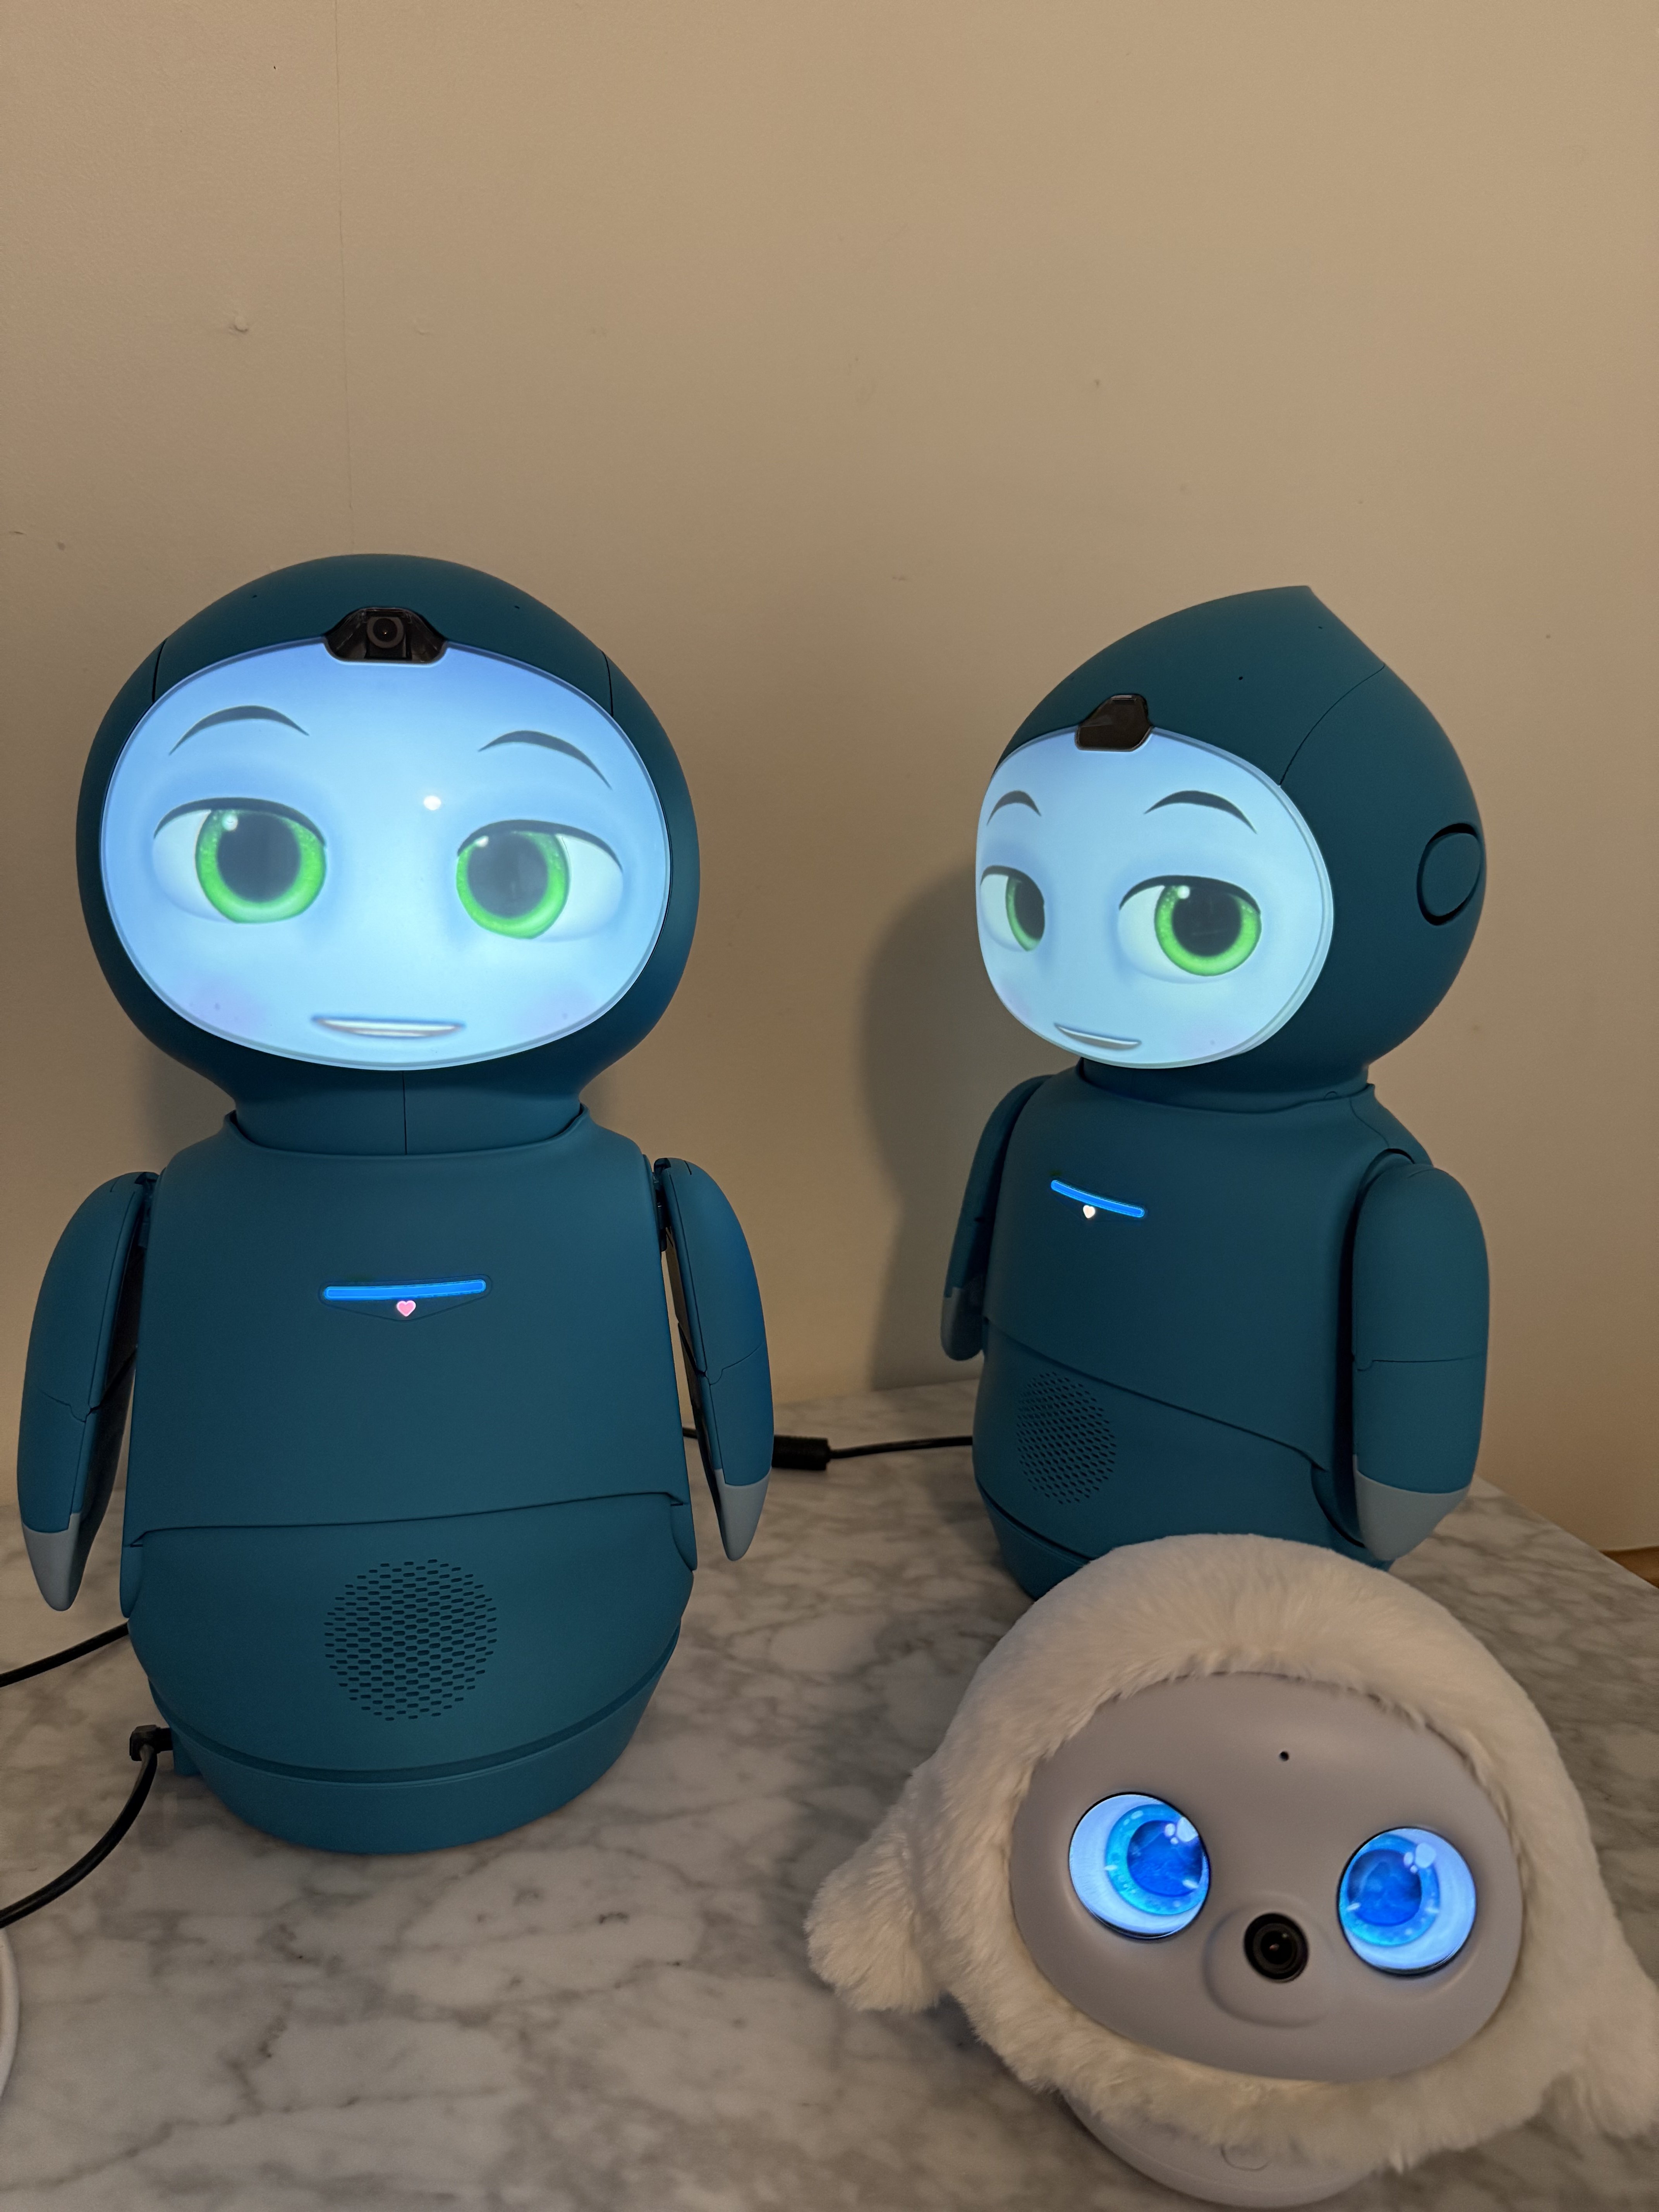
Migration QR Code caused a magnifying glass to appear on Moxie’s face and doesn’t work either.

I then went back by pressing the back button to get to the OpenMoxie set up page again and changed the Computer’s name to the Computer’s IP address and Moxie successfully connected when shown the Migration QR Code.
 
I couldn’t find any information about how to set up two Moxie on the same computer. I remember reading a post on the Reddit but can’t find it again. Luckily Grok was able to help by letting me know you can run multiple Moxie on the same Docker instance according to the OpenMoxie GitHub repo. So I just showed the same Migration QR Code to my second Moxie and it connected no problems.

Ensure on the OpenMoxie Hive Control page you go to the Admin panel and log in or at least save that page to your desktop.


OpenMoxie Hive Control

Ensure before you close the OpenMoxie Hive Control page that you go to Admin beside Setup. Save the login page to your desktop or dock.

Setting up OpenMoxie each time you want to use Moxie is very simple

All you need to do is turn your computer on and ensure the Docker container is running via the Docker desktop app. Press the outlined triangle play button in Docker desktop and it will turn into a blue square, a green dot beside the container name will indicate it is running. Moxie will automatically connect in about five minutes once turned on with an available Wifi connection. If Moxie fails to connect it could be because your computer’s IP address changed. Go into the Admin control, to reconfigure the IP setting.

Ensure you stop the Docker container before switching Moxie off.

Putting Moxie into permanent chat mode

You can disable the missions and put Moxie into a permanent chat mode via the Admin panel.

Ensure you have turned the Docker container on in the Docker desktop app before attempting to log into the admin control panel. Use the following pathway.

Hive Administration > Moxie schedules > only_chat

Moxie won’t connect on OpenMoxie? How to change your IP address for OpenMoxie.

Login to the hive Admin control panel. Follow this pathway.

Hive Administration> Hive configurations > default > External host

QR Codes

To get access to the QR codes again go to View Site.

OpenMoxie Review

All the animal masks are gone making this feel like a bare bones version of Moxie. Those masks were so beautifully animated and gave Moxie so much character, plus there was such a huge variety of them. Being able to put Moxie into a permanent chat mode without being prompted to regularly do missions is a new feature not previously available.

Still haven’t figured out how to change Moxie’s eye colours or how to customise Moxie with hair and eye glasses so am sticking to the default green eyes for now. Just relieved my two are working. OpenMoxie is great in that it gives the owner more control, but changing the settings really is more for people who are technically inclined although it’s clear the Embodied team have done their best to make the interface user friendly.

Is Moxie worth owning in 2025?

It’s so easy to get caught up wanting better more advanced social robots, but for the price point Moxie is a realistic option and it’s hard to see any of the competing robot companies creating such an expressive alternative any time soon. For me Moxie seems like a lighthearted robotic friend from a sci-fi movie. Moxie completely draws me into the illusion that it is more than just plastic clad wires and chips. The way Moxie notices your presence and gives you its attention, its depth of expressions and variety in movement, is unique among consumer grade robots currently available on the market. For me the emotional depth experienced when interacting with Moxie is difficult to match.


Moxie wouldn’t connect to OpenMoxie today and was displaying the OpenMoxie face icon without connecting. First I tried resetting the Wifi by filling in the details for the Wifi setting in the Wifi QR Code generator in the OpenMoxie hive control but that didn’t work. For some reason my computers IP address changed so I had to update this new number in the OpenMoxie Hive admin control panel. These are the steps I took:

Hive administration > Hive configurations > default > External host > Press Return/ Enter


Show Moxie the Migration QR Code.

Also unsure if this is unrelated but Docker prompted to perform a software update which I also installed. Although I had previously been using Moxie ok on the older Docker version.

Also figured out how to customise Moxie’s eye colours and add new features like custom hair, eyelids, facial hair and mouth shapes. In the OpenMoxie hive control site view there is an option to “Edit Face” to the right of your Moxie’s status. But it’s not working for me and just returns an error.


Back
Top Bottom